How to paint a photography backdrop for boudoir
Usually my posts are meant for clients, but this time I wanted to share some knowledge with my clients.
I’ve wanted a painted back drop for ages, but I didn’t want to commit $$$$ to one if I wasn’t sure I’d use it and love it. So as I do with most things… I went DIY for this project. I do a lot of painting projects, so I had a lot of supplies on hand.
Supply list:
1) Large canvas seamless cloth like this one from Amazon.
2) Plastic drop cloth like this one from Sherwin Williams
3) Wide painters tape like Frog Tape (my favorite brand)
4) Zinsser water-based primer ( I used about a quart and a half of my gallon)
5) Miscellaneous paint in grey tones that I had lying around. I used about 3 quarts when all was said and done. I chose a medium grey and a very dark charcoal grey. The ones linked are the quarts from Sherwin Williams in satin. When it’s painted on canvas, it doesn’t have any sheen to it.
5) A paint roller multipack + roller frame + tray multipack
6) an extension pole is optional, but it will make the job easier
7) water and a mixing container with measurement markers
Time to complete project: 1 day in a dry climate
Instructions:
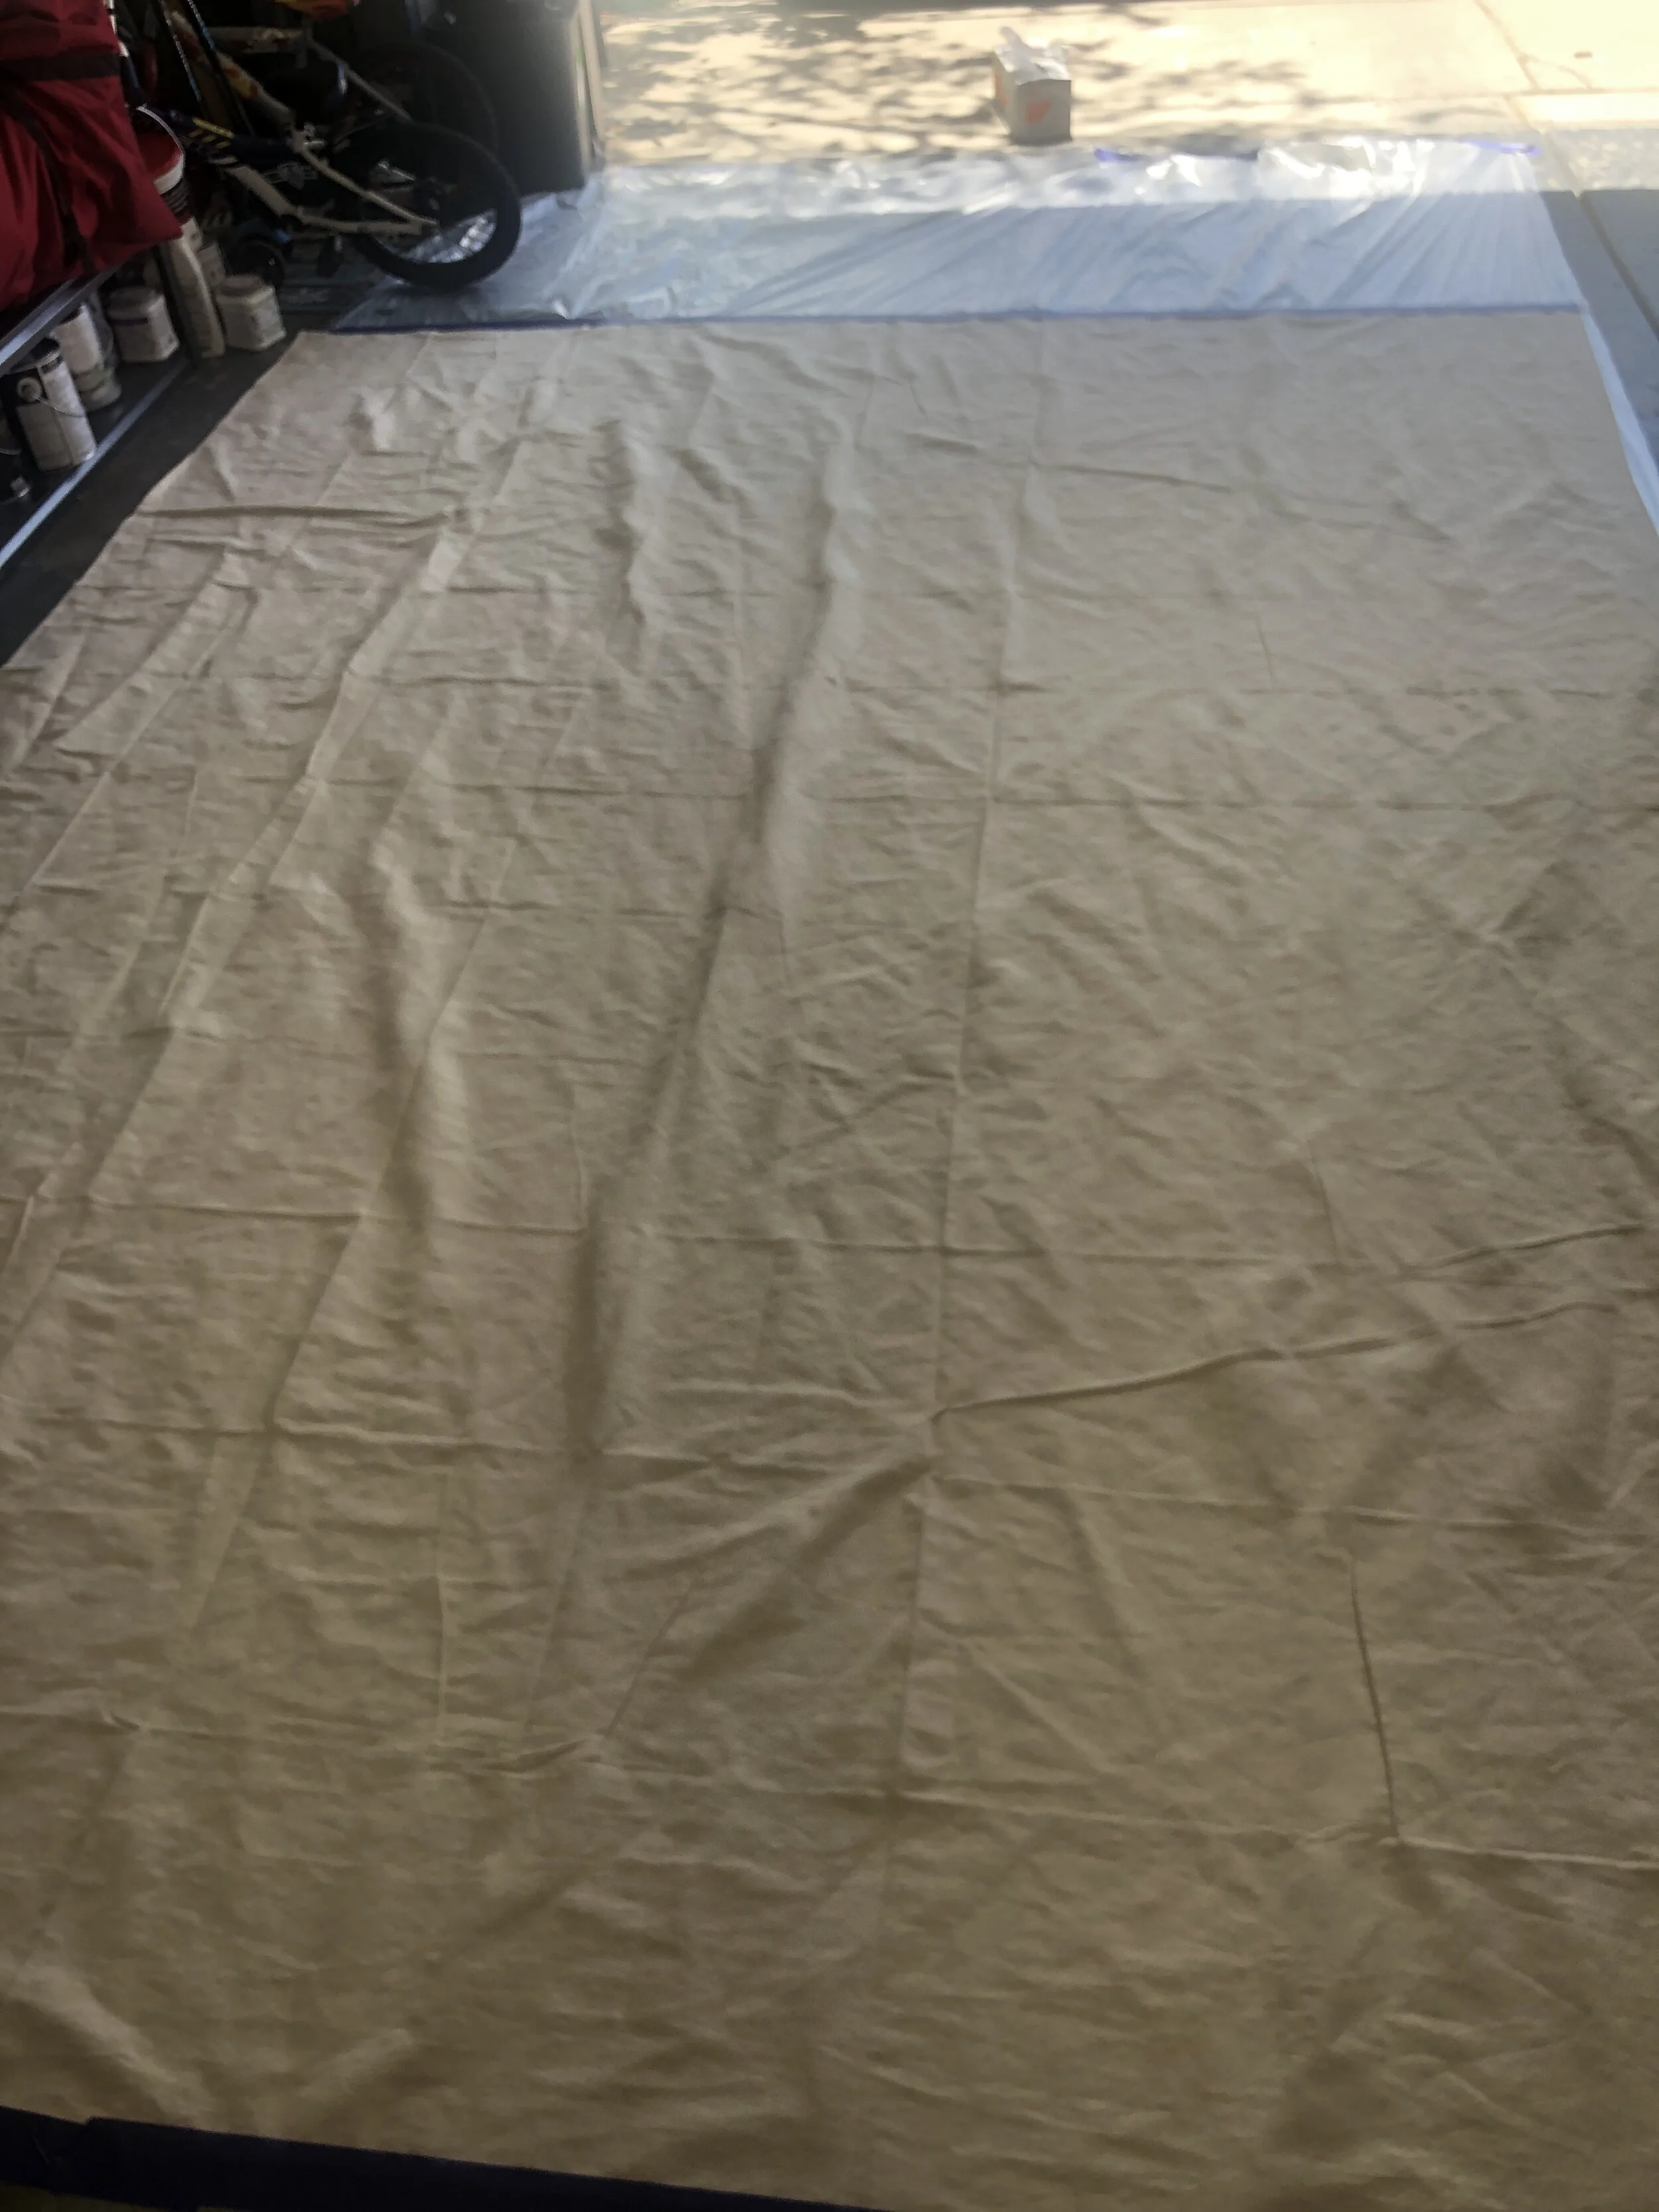
1) Find a large flat hard surface outdoors or in a garage and tape the drop cloth to the ground. Remember to leave room to walk around your canvas on all sides.
2) Unfold the canvas and tape the edges to the plastic sheet
3) Mix the primer with water at about a 2:1 ratio. I chose to do 1/2 quart primer to 1/4 quart water.
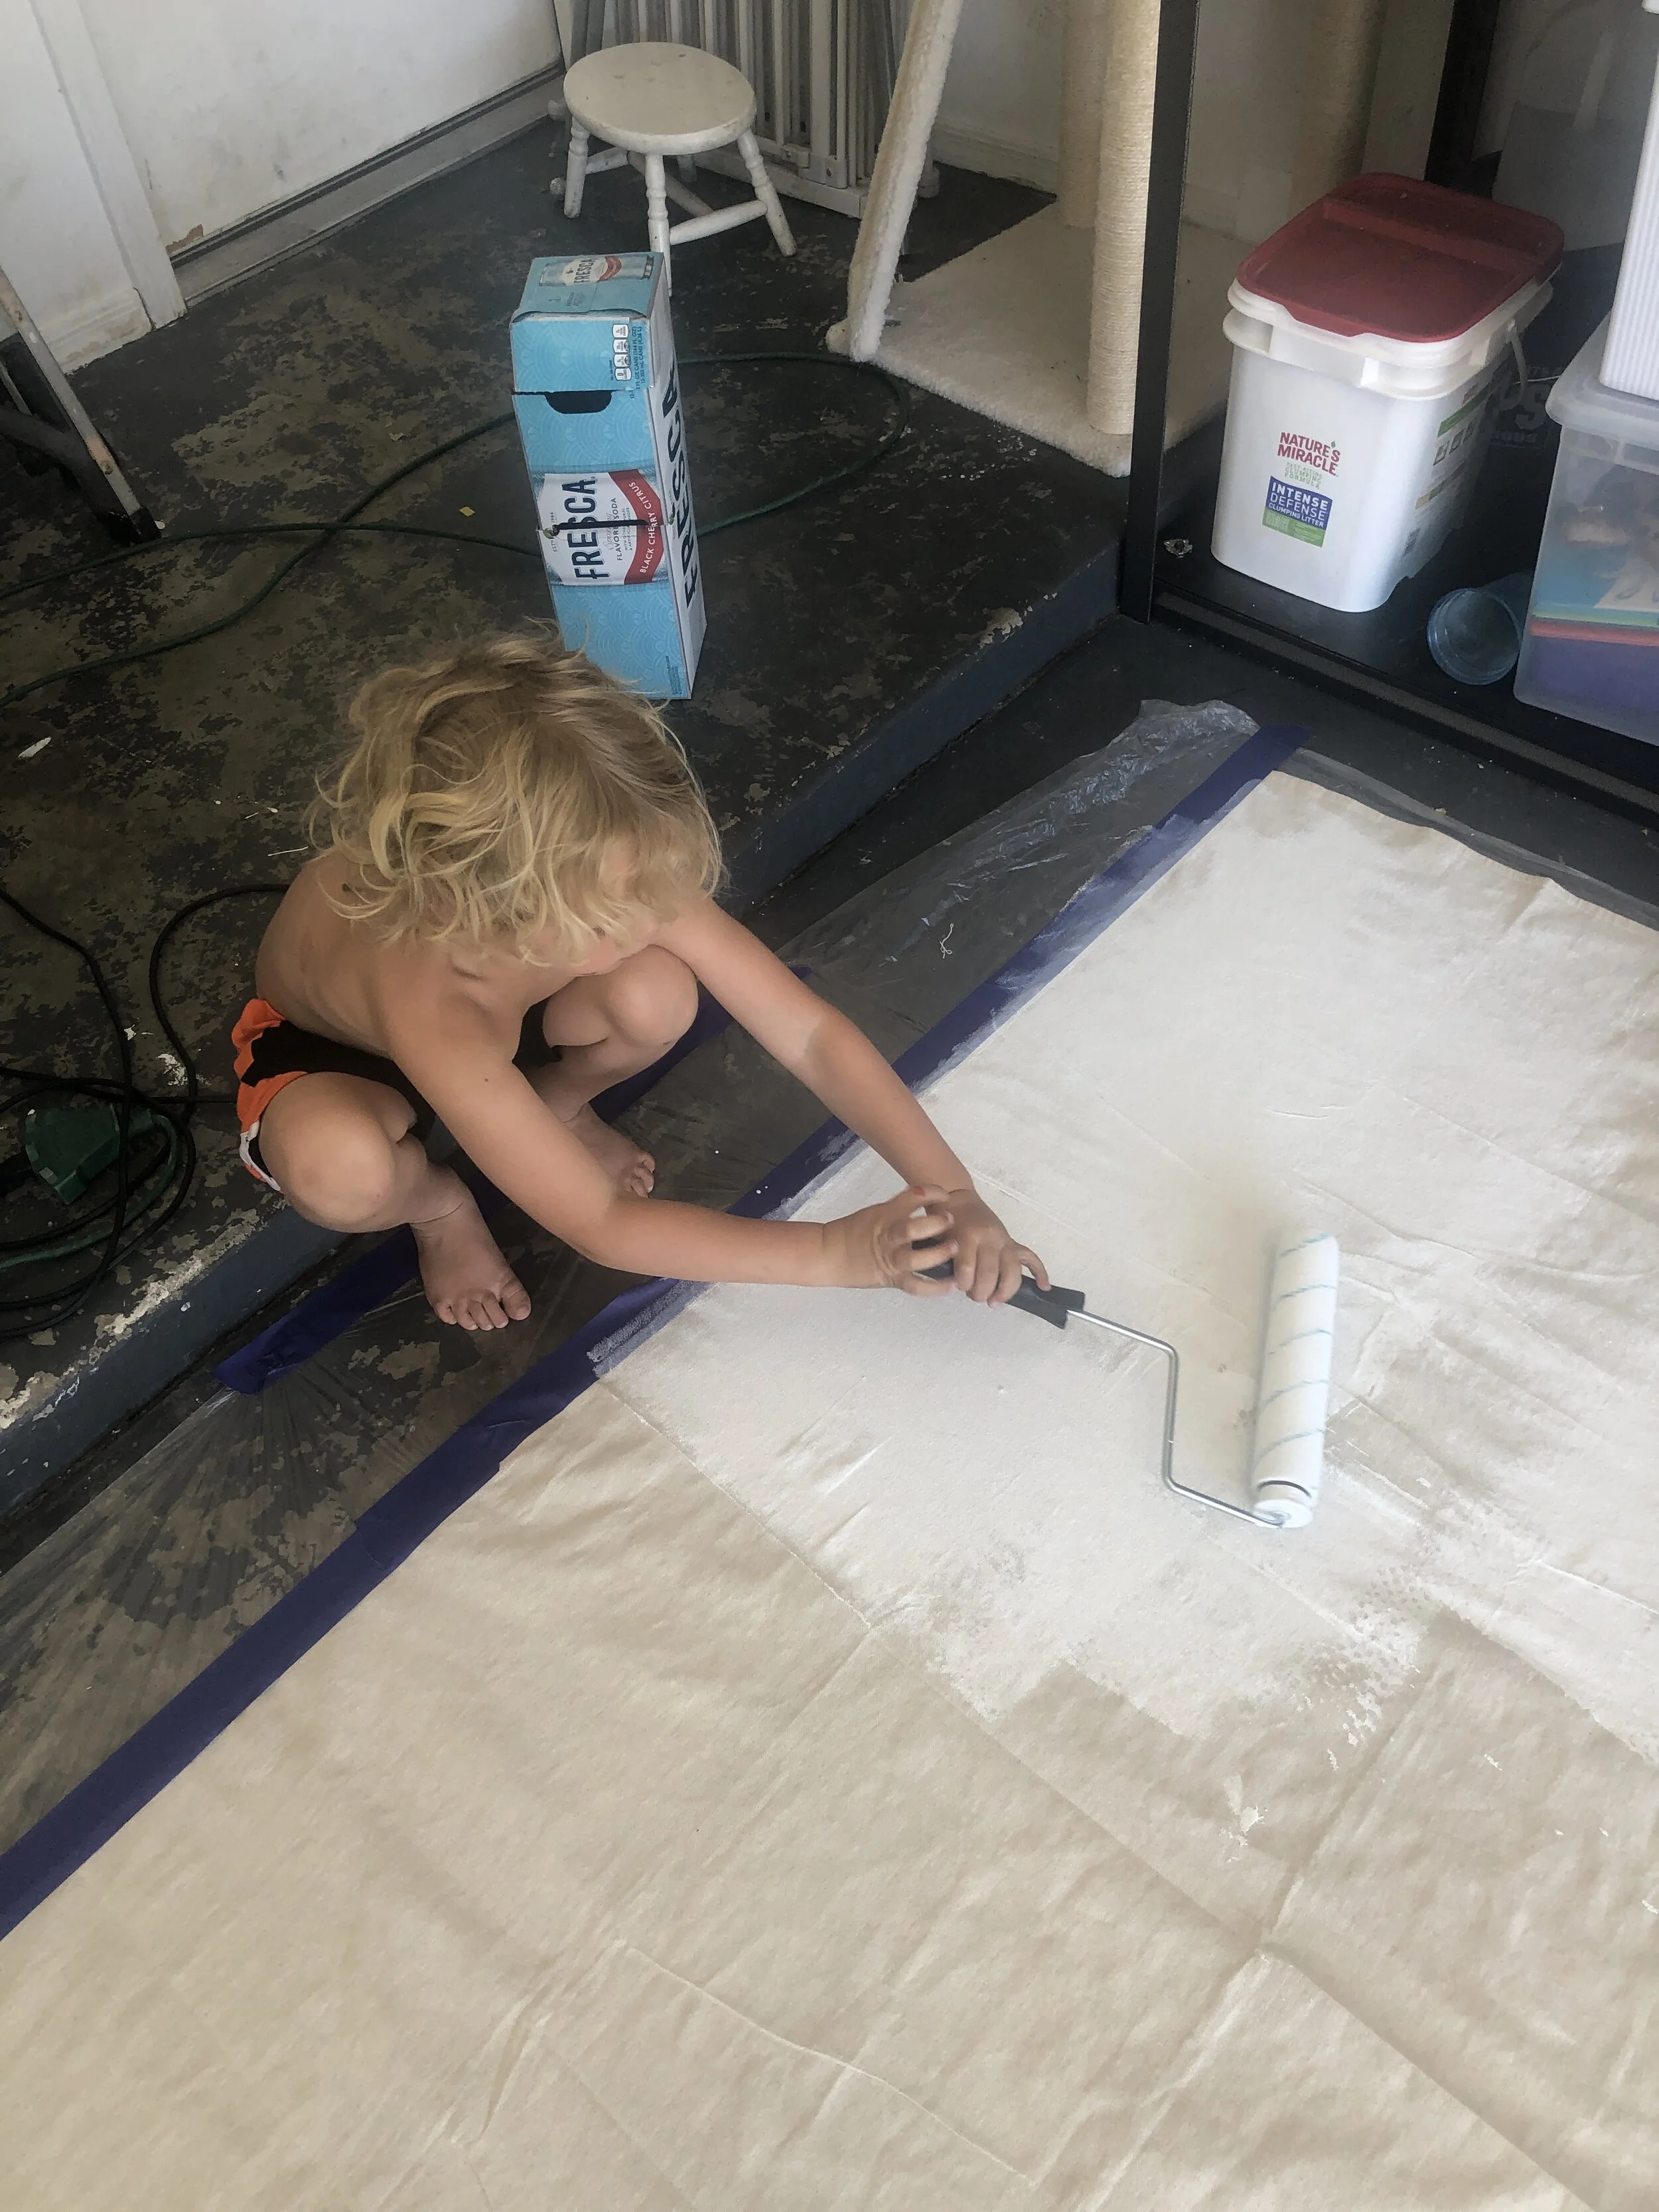
4) Use the roller to apply it everywhere. It will get soaked in pretty quickly.
5) Wait about an hour and apply another coat of primer with the same ratio
6) Mix your base color paint with the same ratio as the primer. Use a new roller cover and tray unless you feel like doing massive amounts of cleaning.
7) Roll paint mixture out in all directions. To the left, to the right, then front, then back. X patterns and + patterns. The thin paint will create a textured look that is more opaque in some places than others. Which is what makes it look hand-painted. Let dry completely.
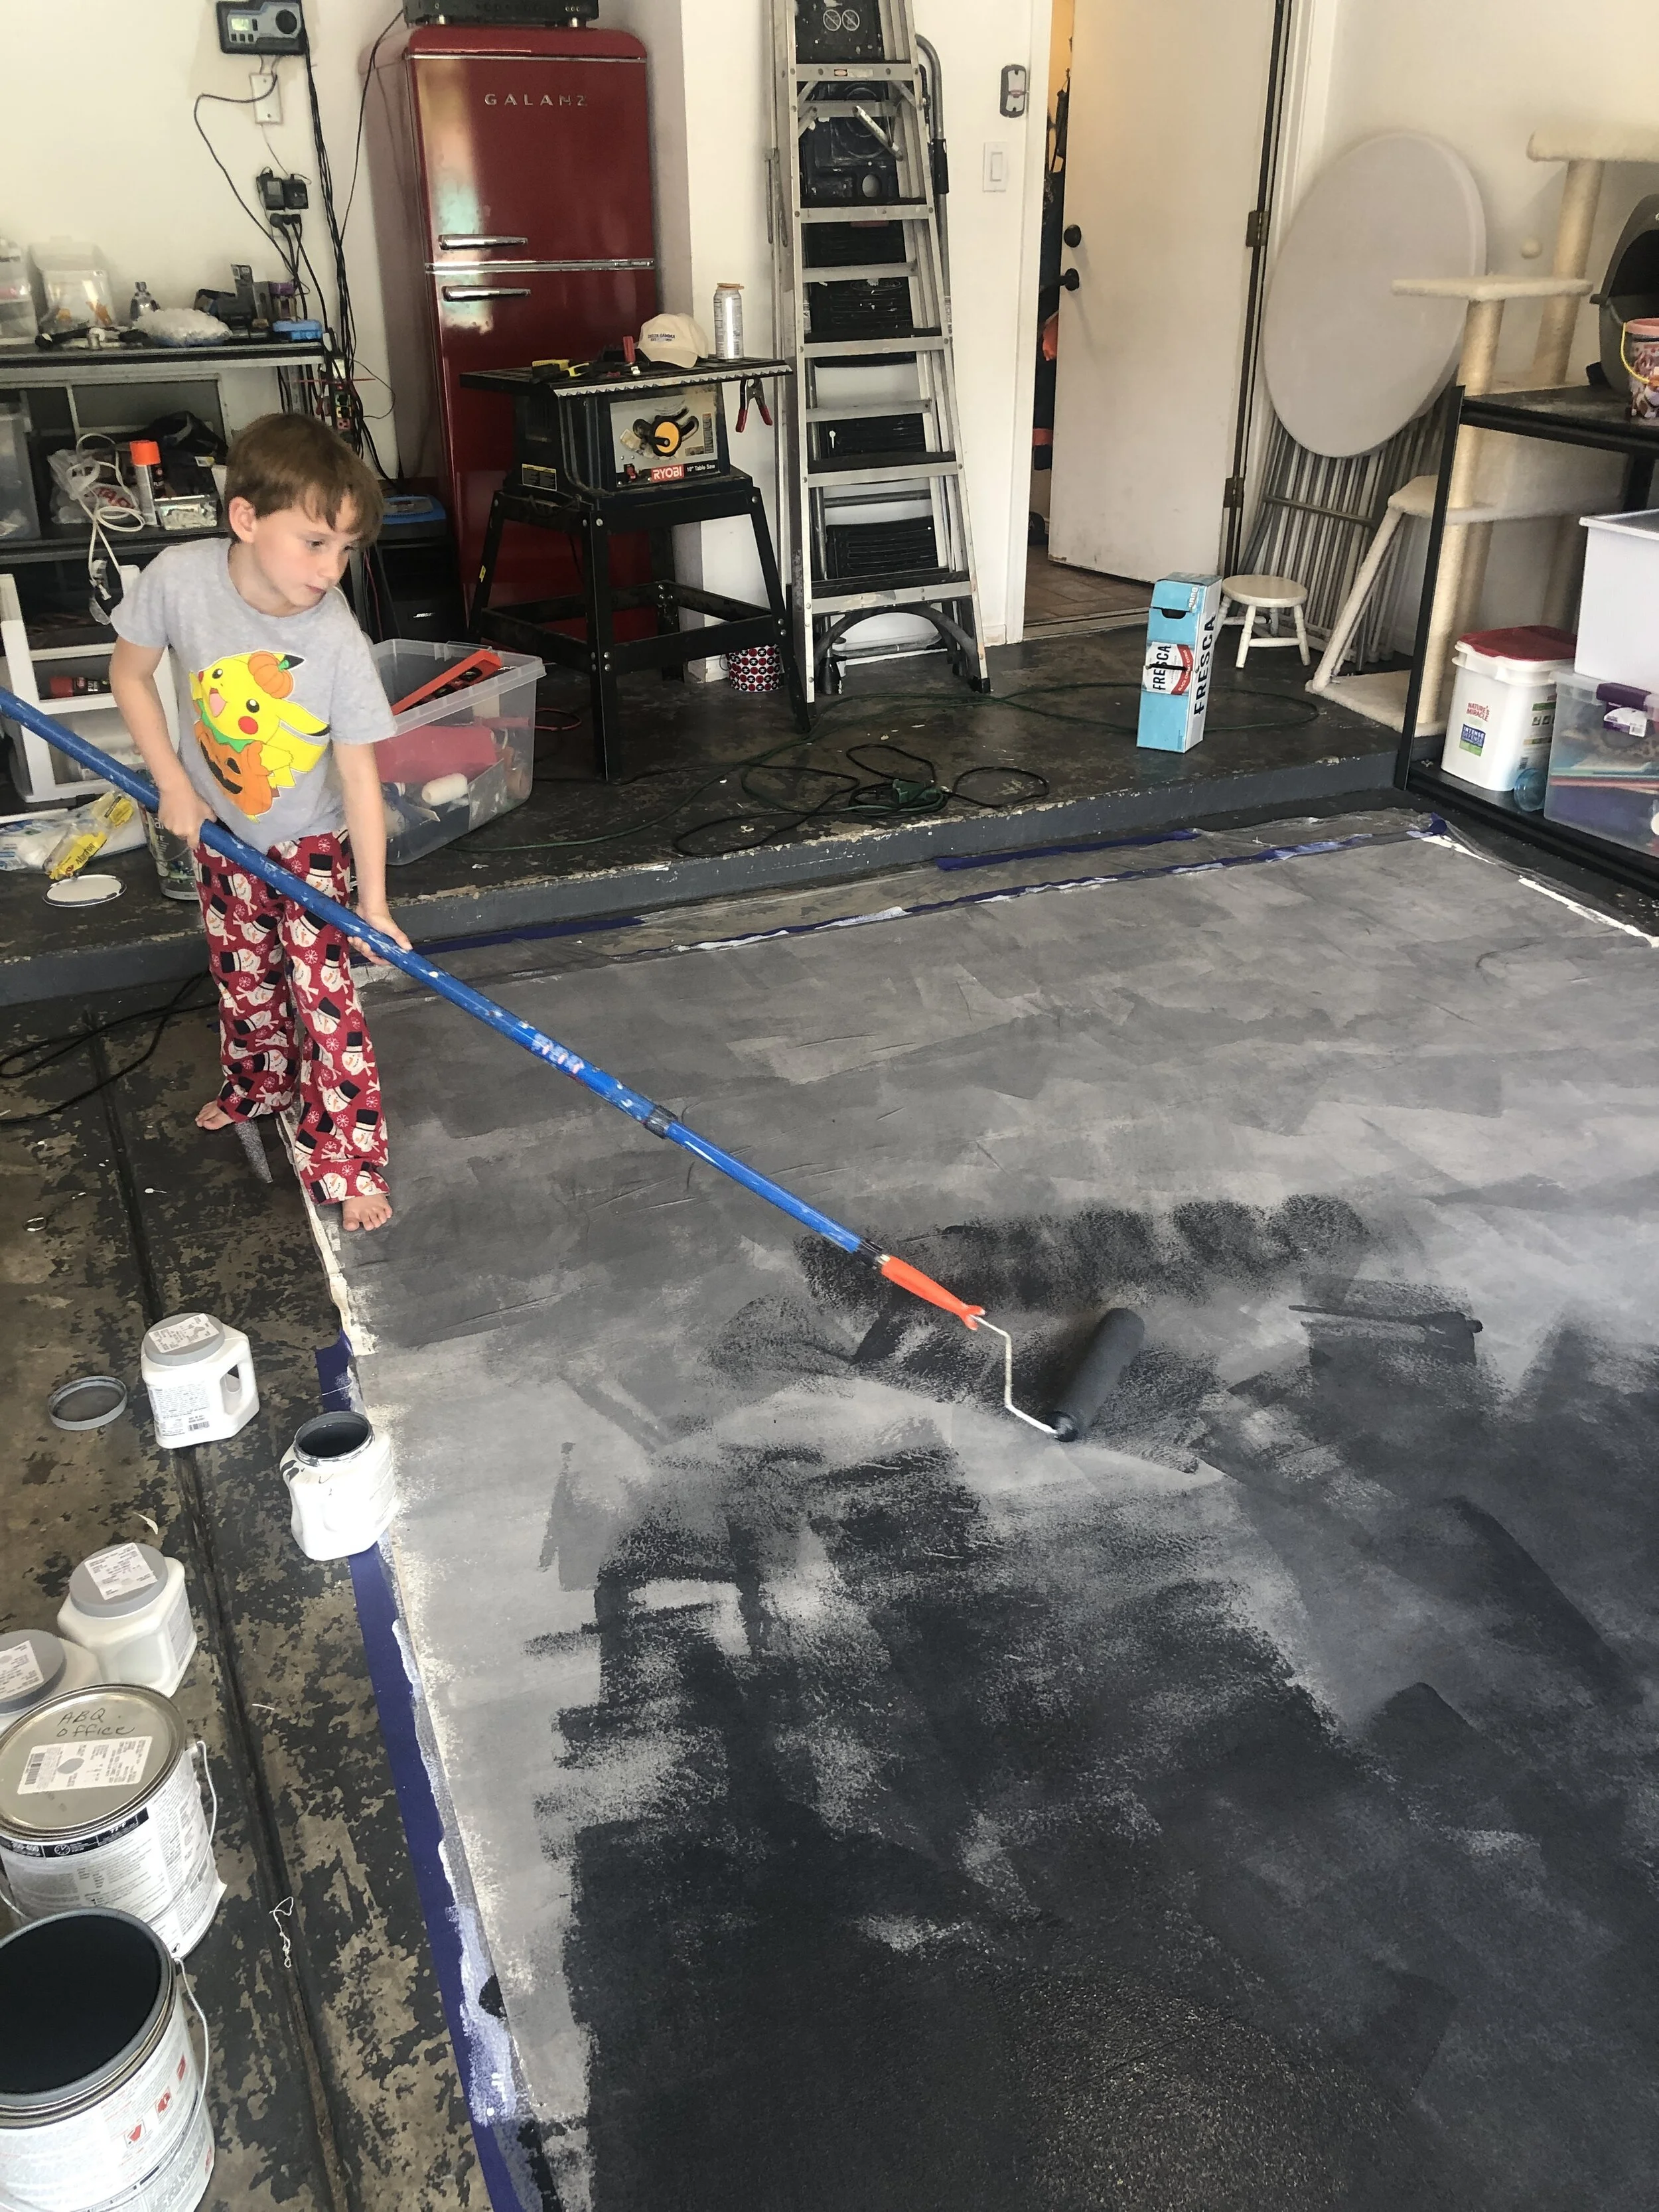
8) Apply a second color of paint. For this color, I mixed equal parts water and paint. I tend to shoot slightly over-exposed, so I made the second coat a bit darker to compensate for that. I wanted a charcoal grey with bits of light grey showing in places. Use the same X and + patterns. If you are picking two very different colors, use a new roller cover and paint pan. Mine were in the same tone, so I just re-used mine.
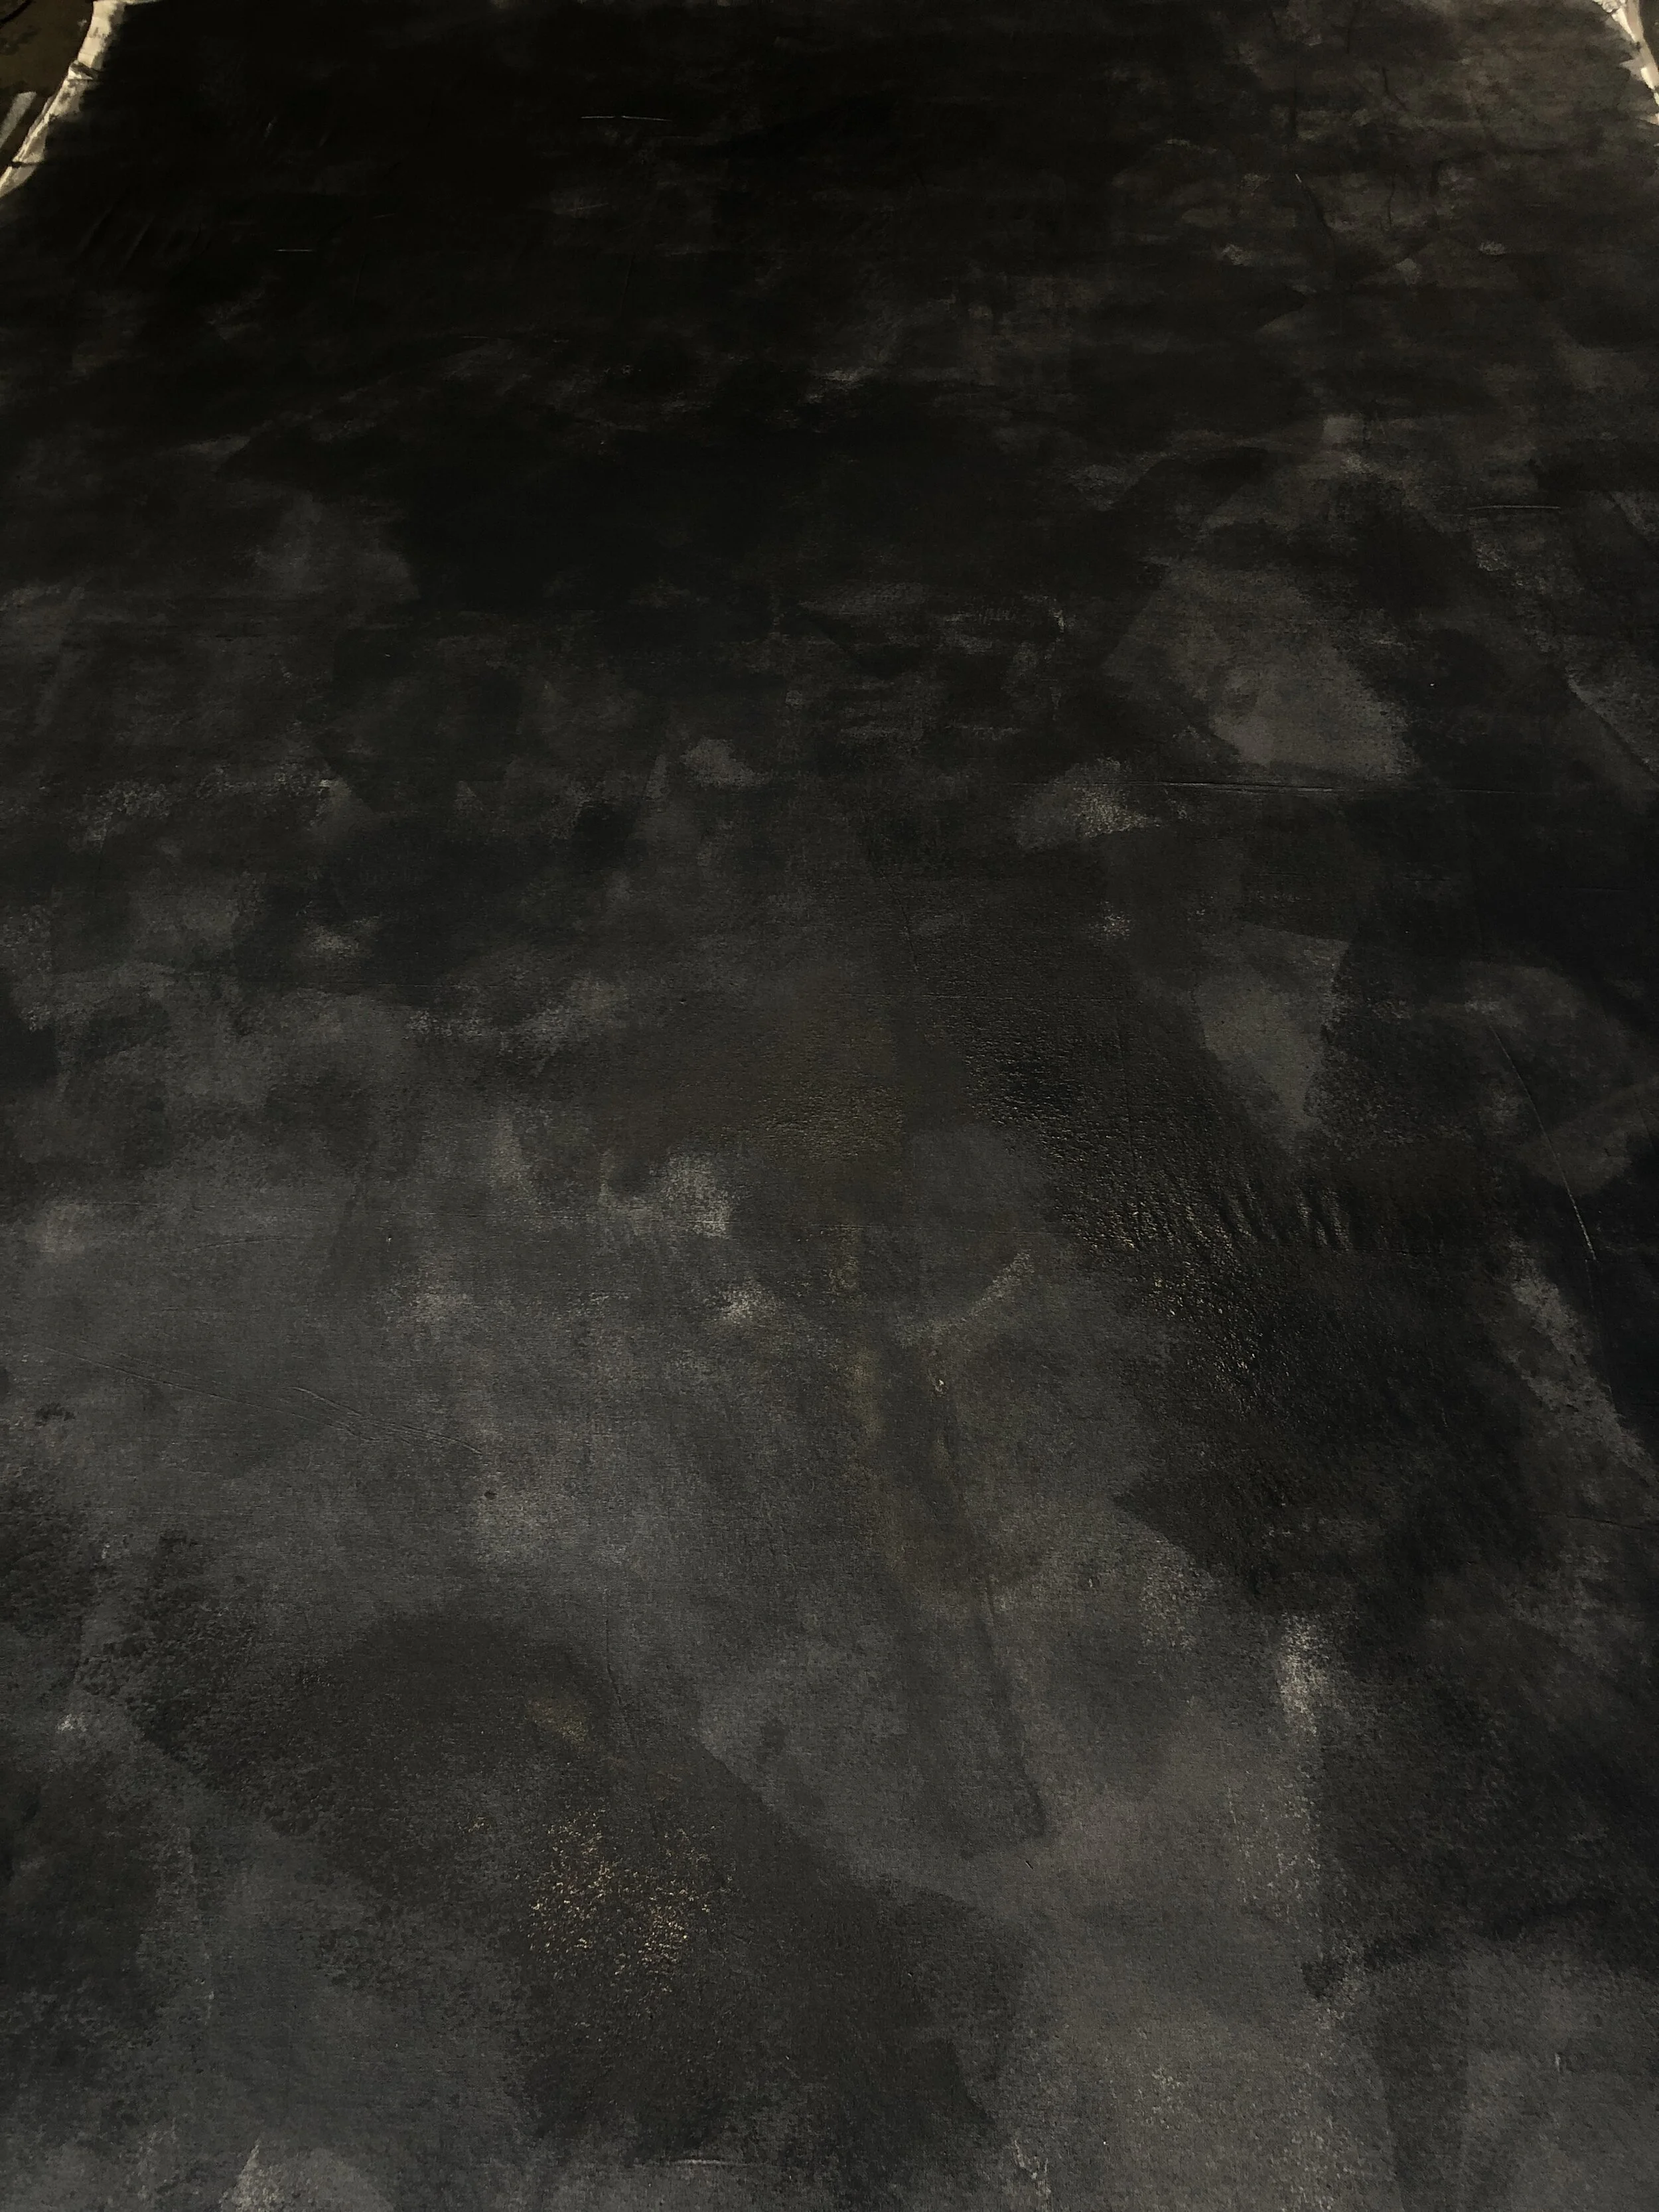
9) Tada! A hand-painted backdrop for a fraction of the cost of paying a professional.
So far, I’ve only had this for about a week, but I’m storing it rolled up and haven’t had any issues with cracking. Diluting the paint and doing it in layers, it retained some flexibility.
Since we are on quarantine, Here’s a not-so-great snap my mom took with my camera. Yes, the focus is off.
Image 1: canvas taped down
Image 2: Eli helping me roll out the first coat of primer.
Image 3 + 4: Leo putting on the darker grey paint over the first coat of medium grey
Such an easy project, a 2nd grader and pre-schooler can do it! Well, as long as you do the mixing and constantly remind them to stay ON the canvas with their paint and off of it with their feet.
Let me know if you have any questions!


