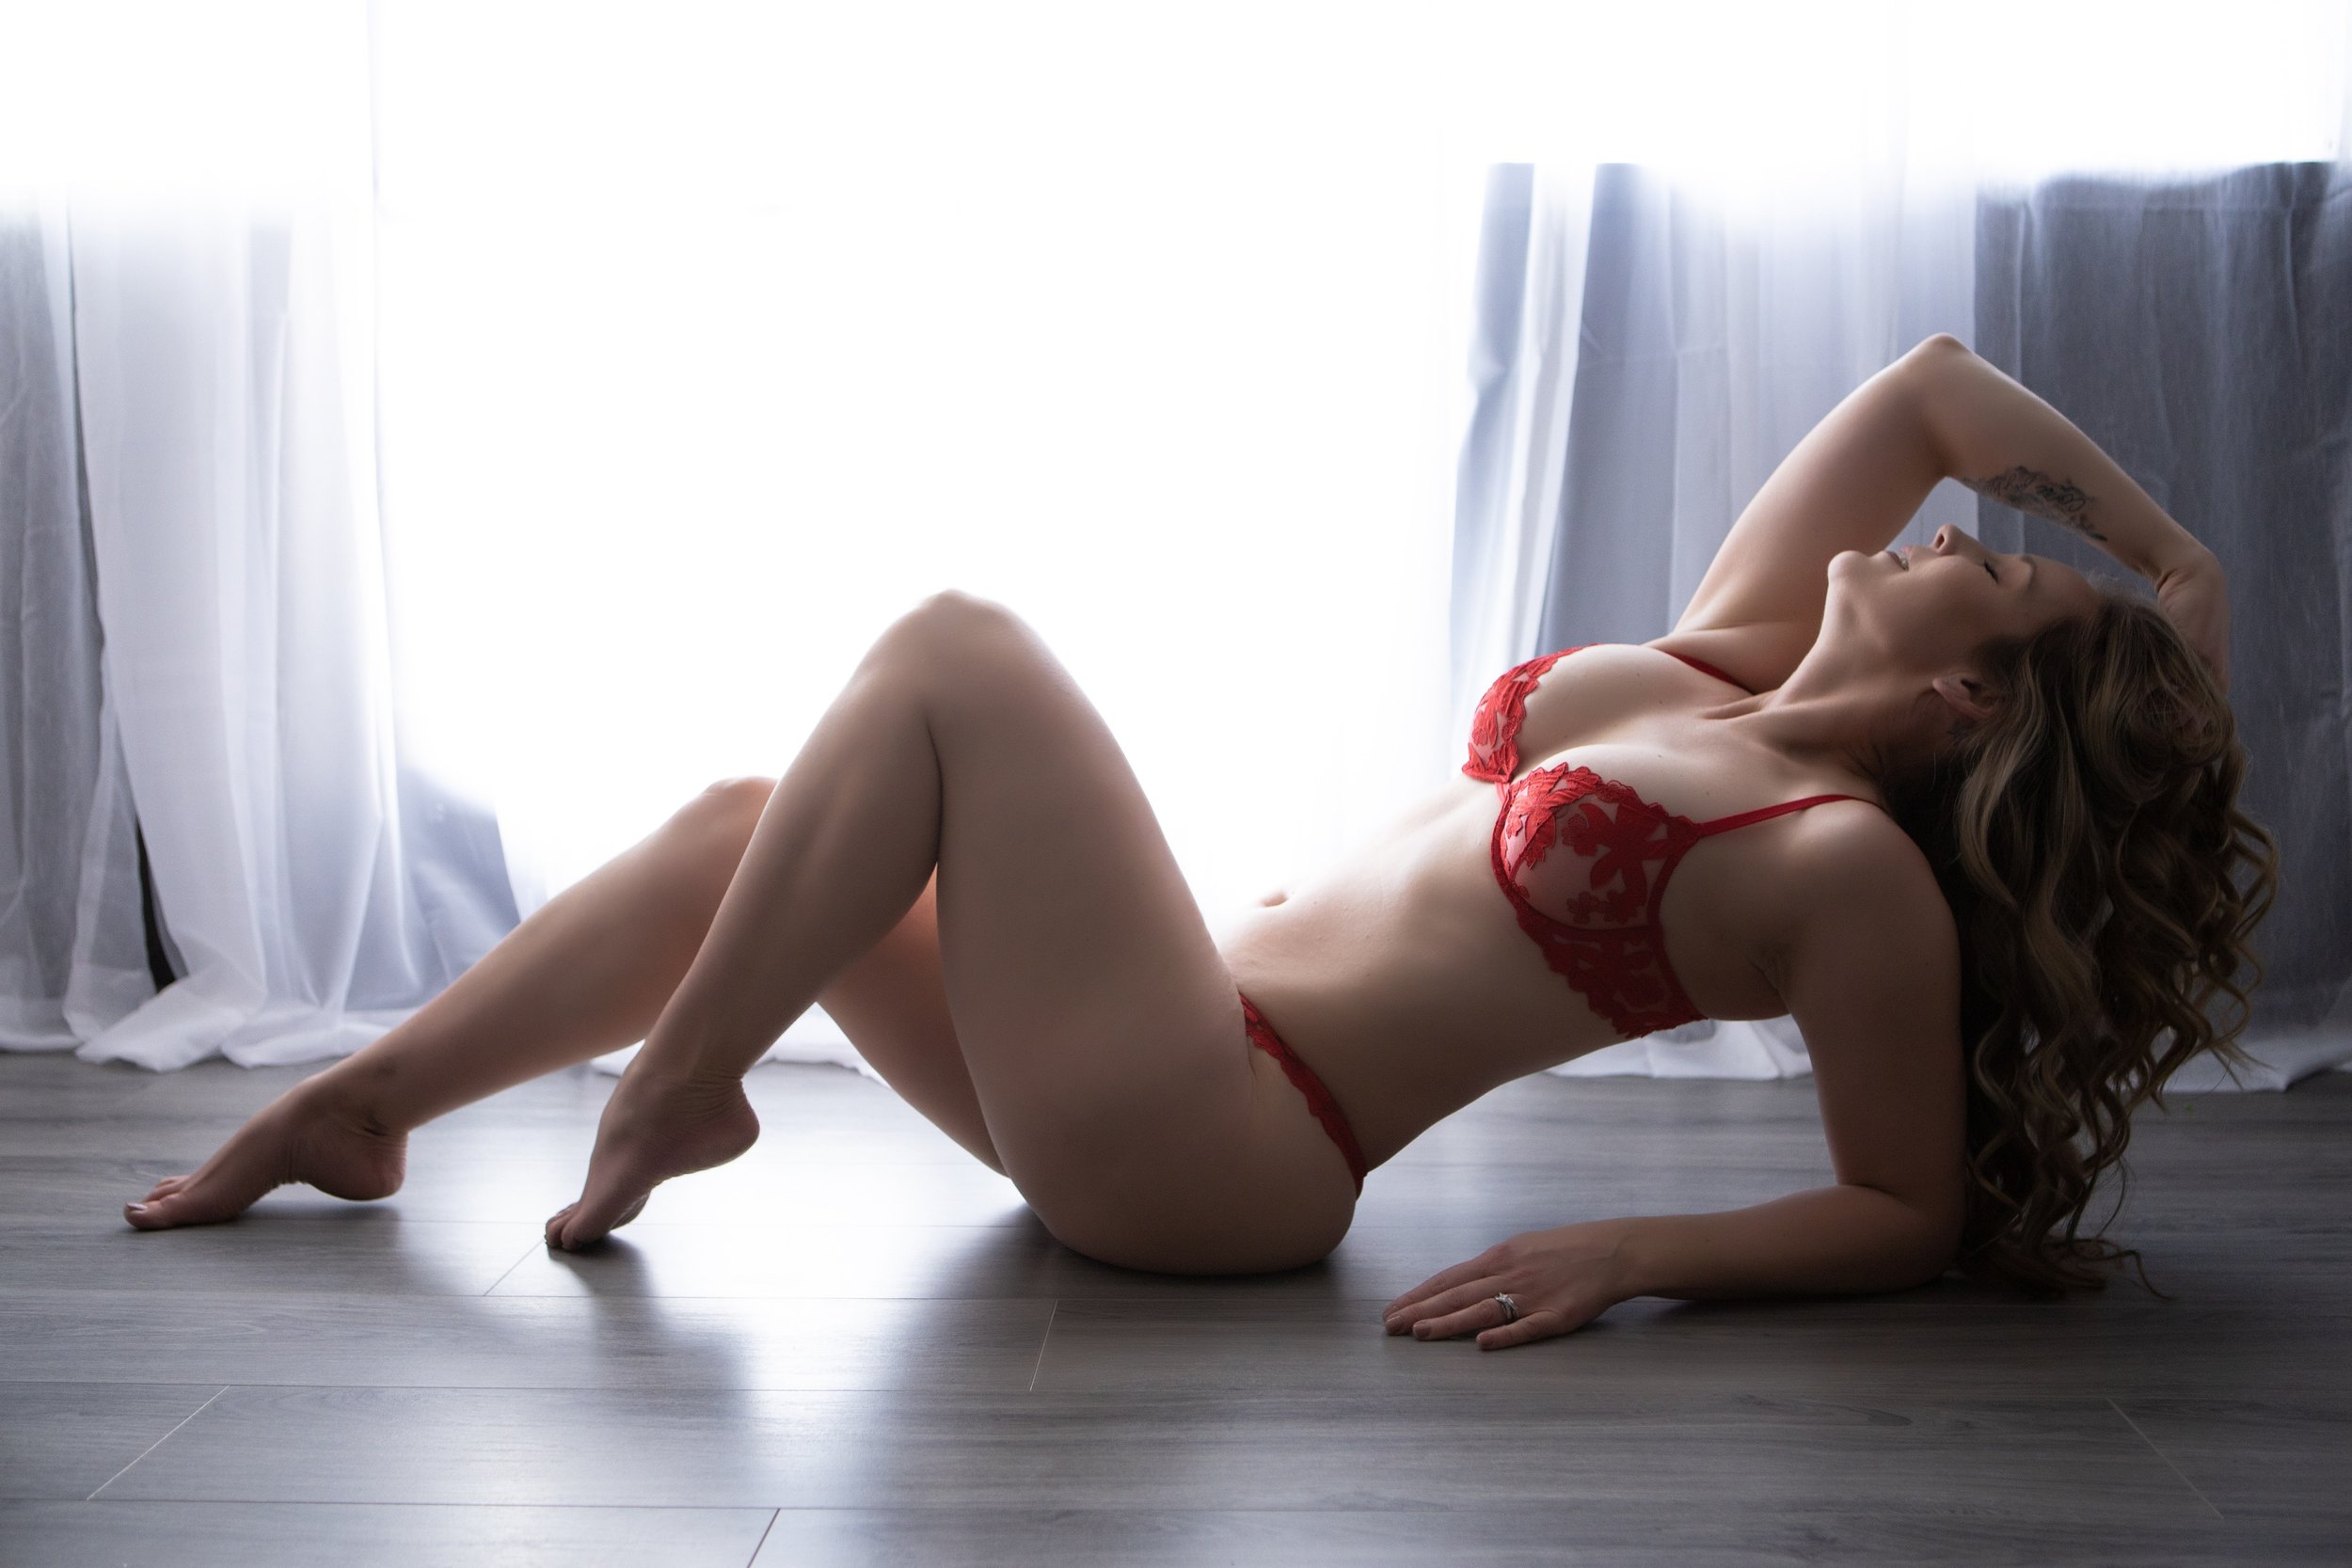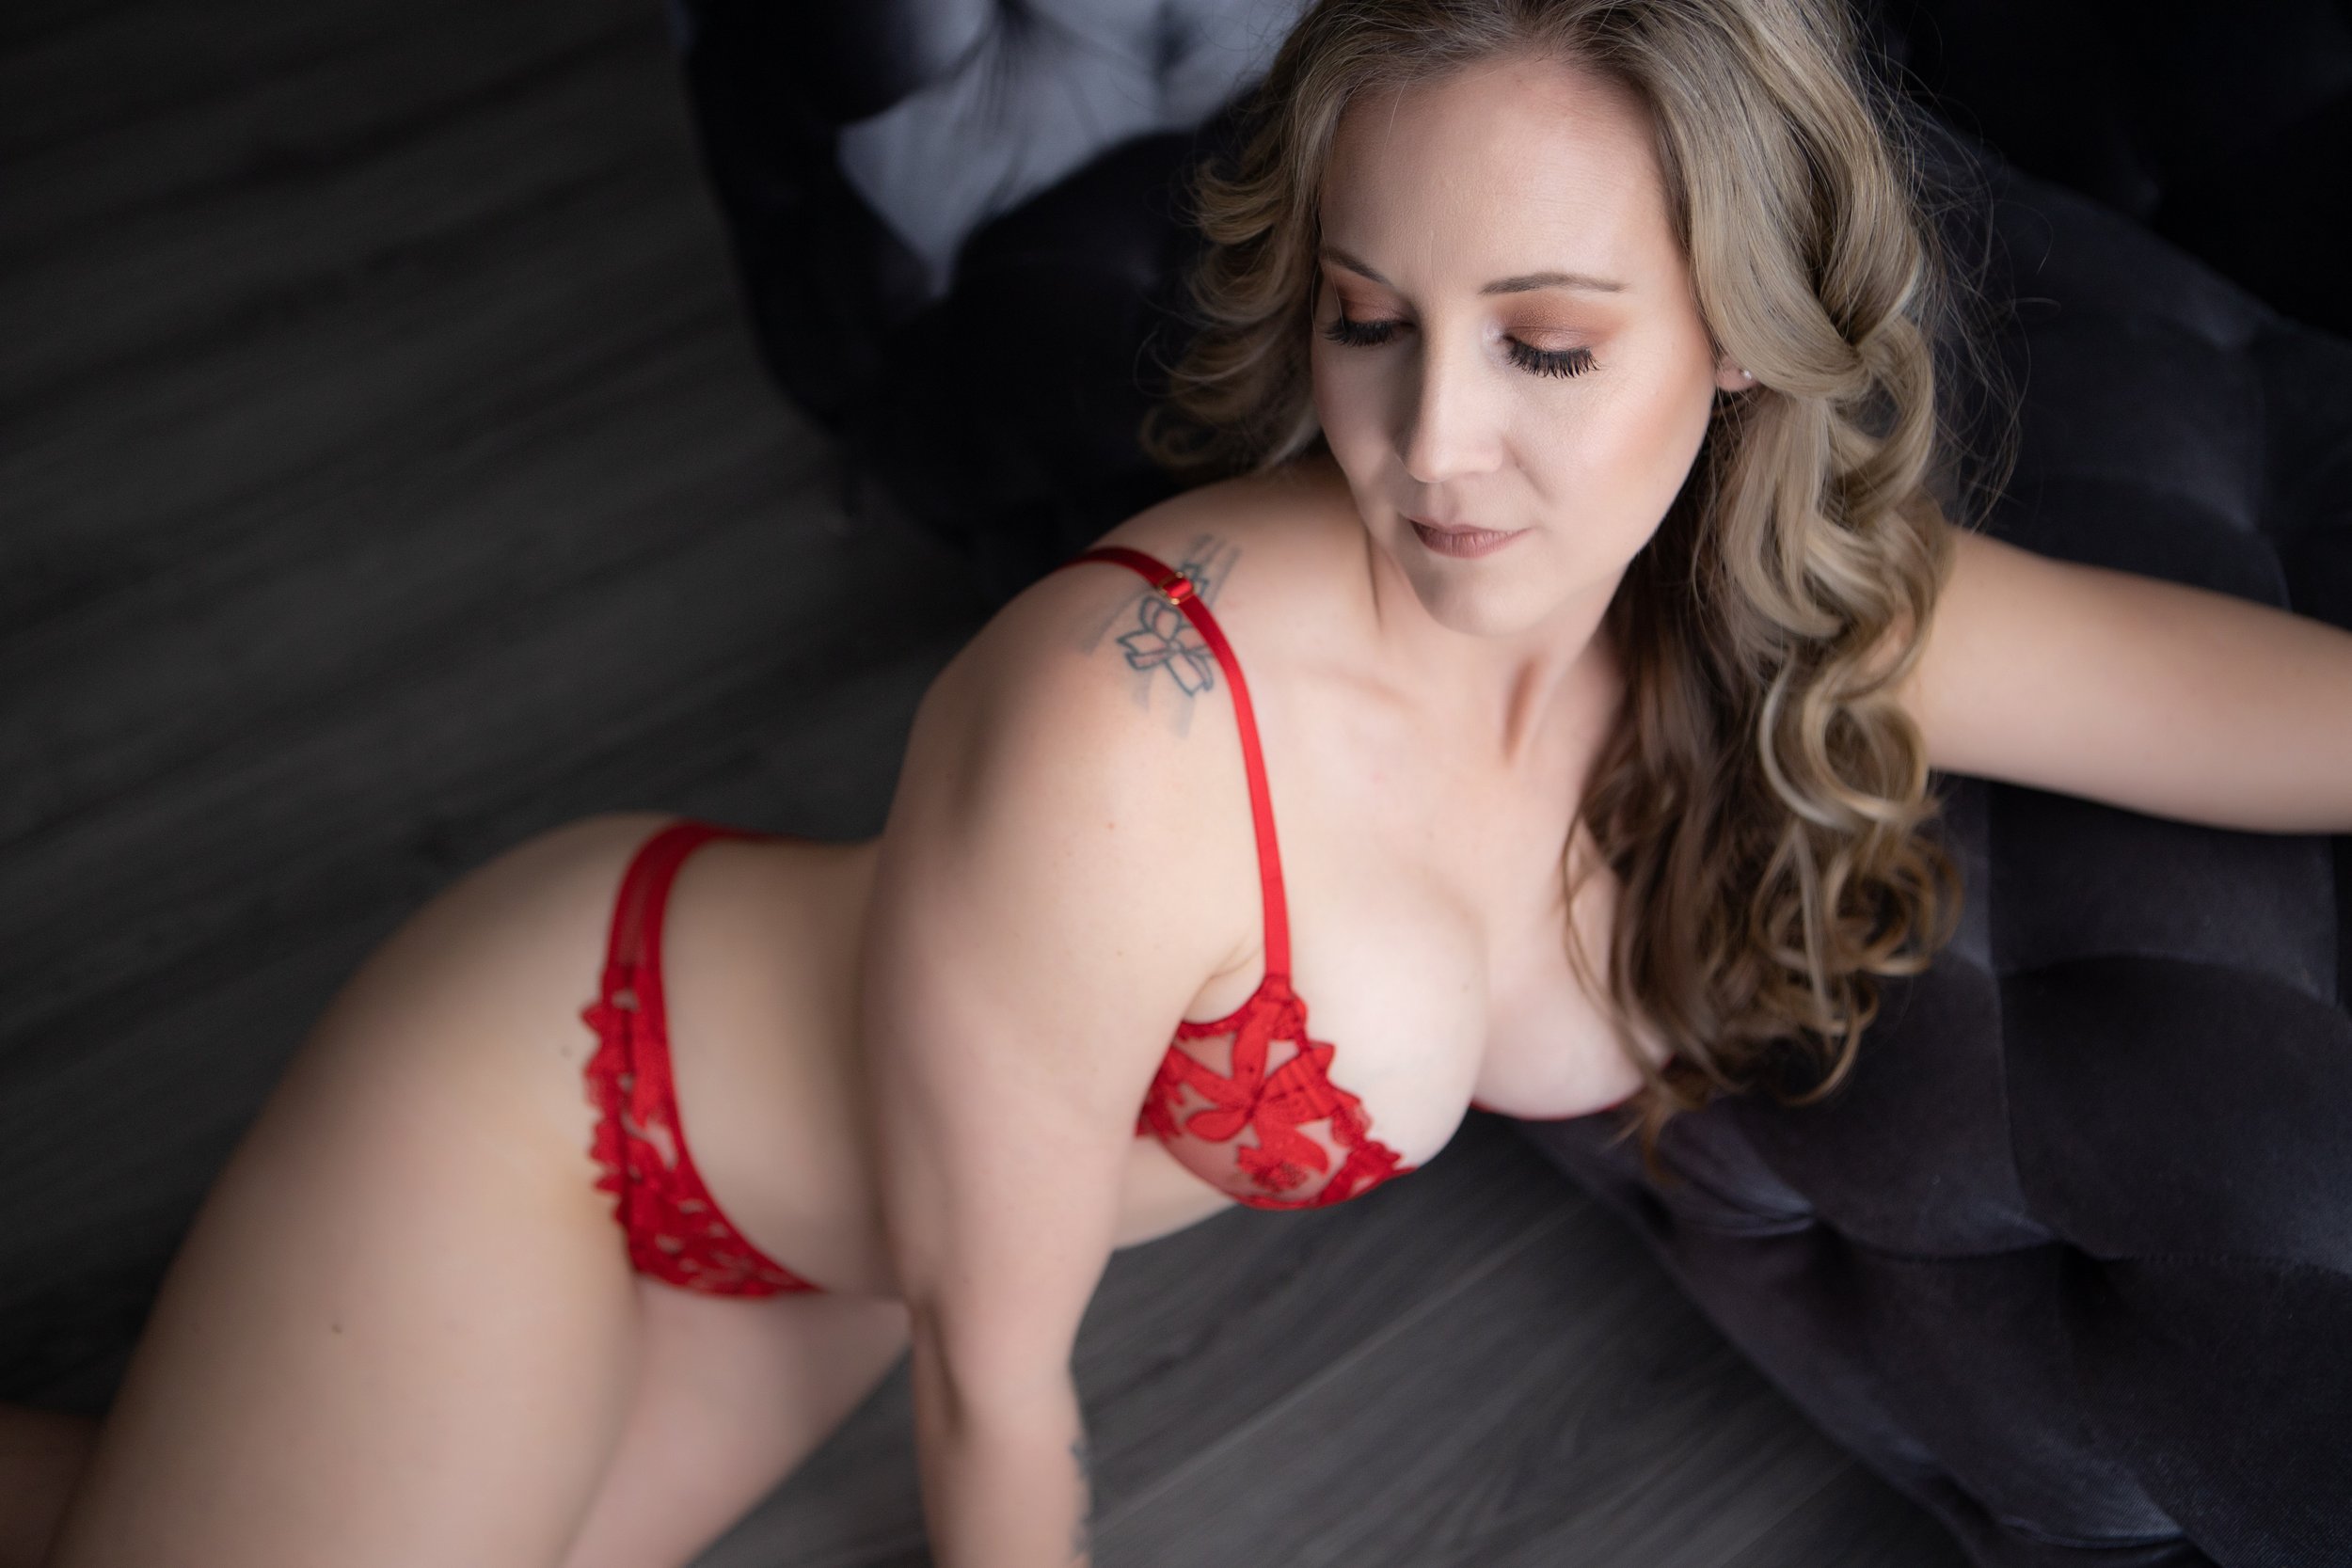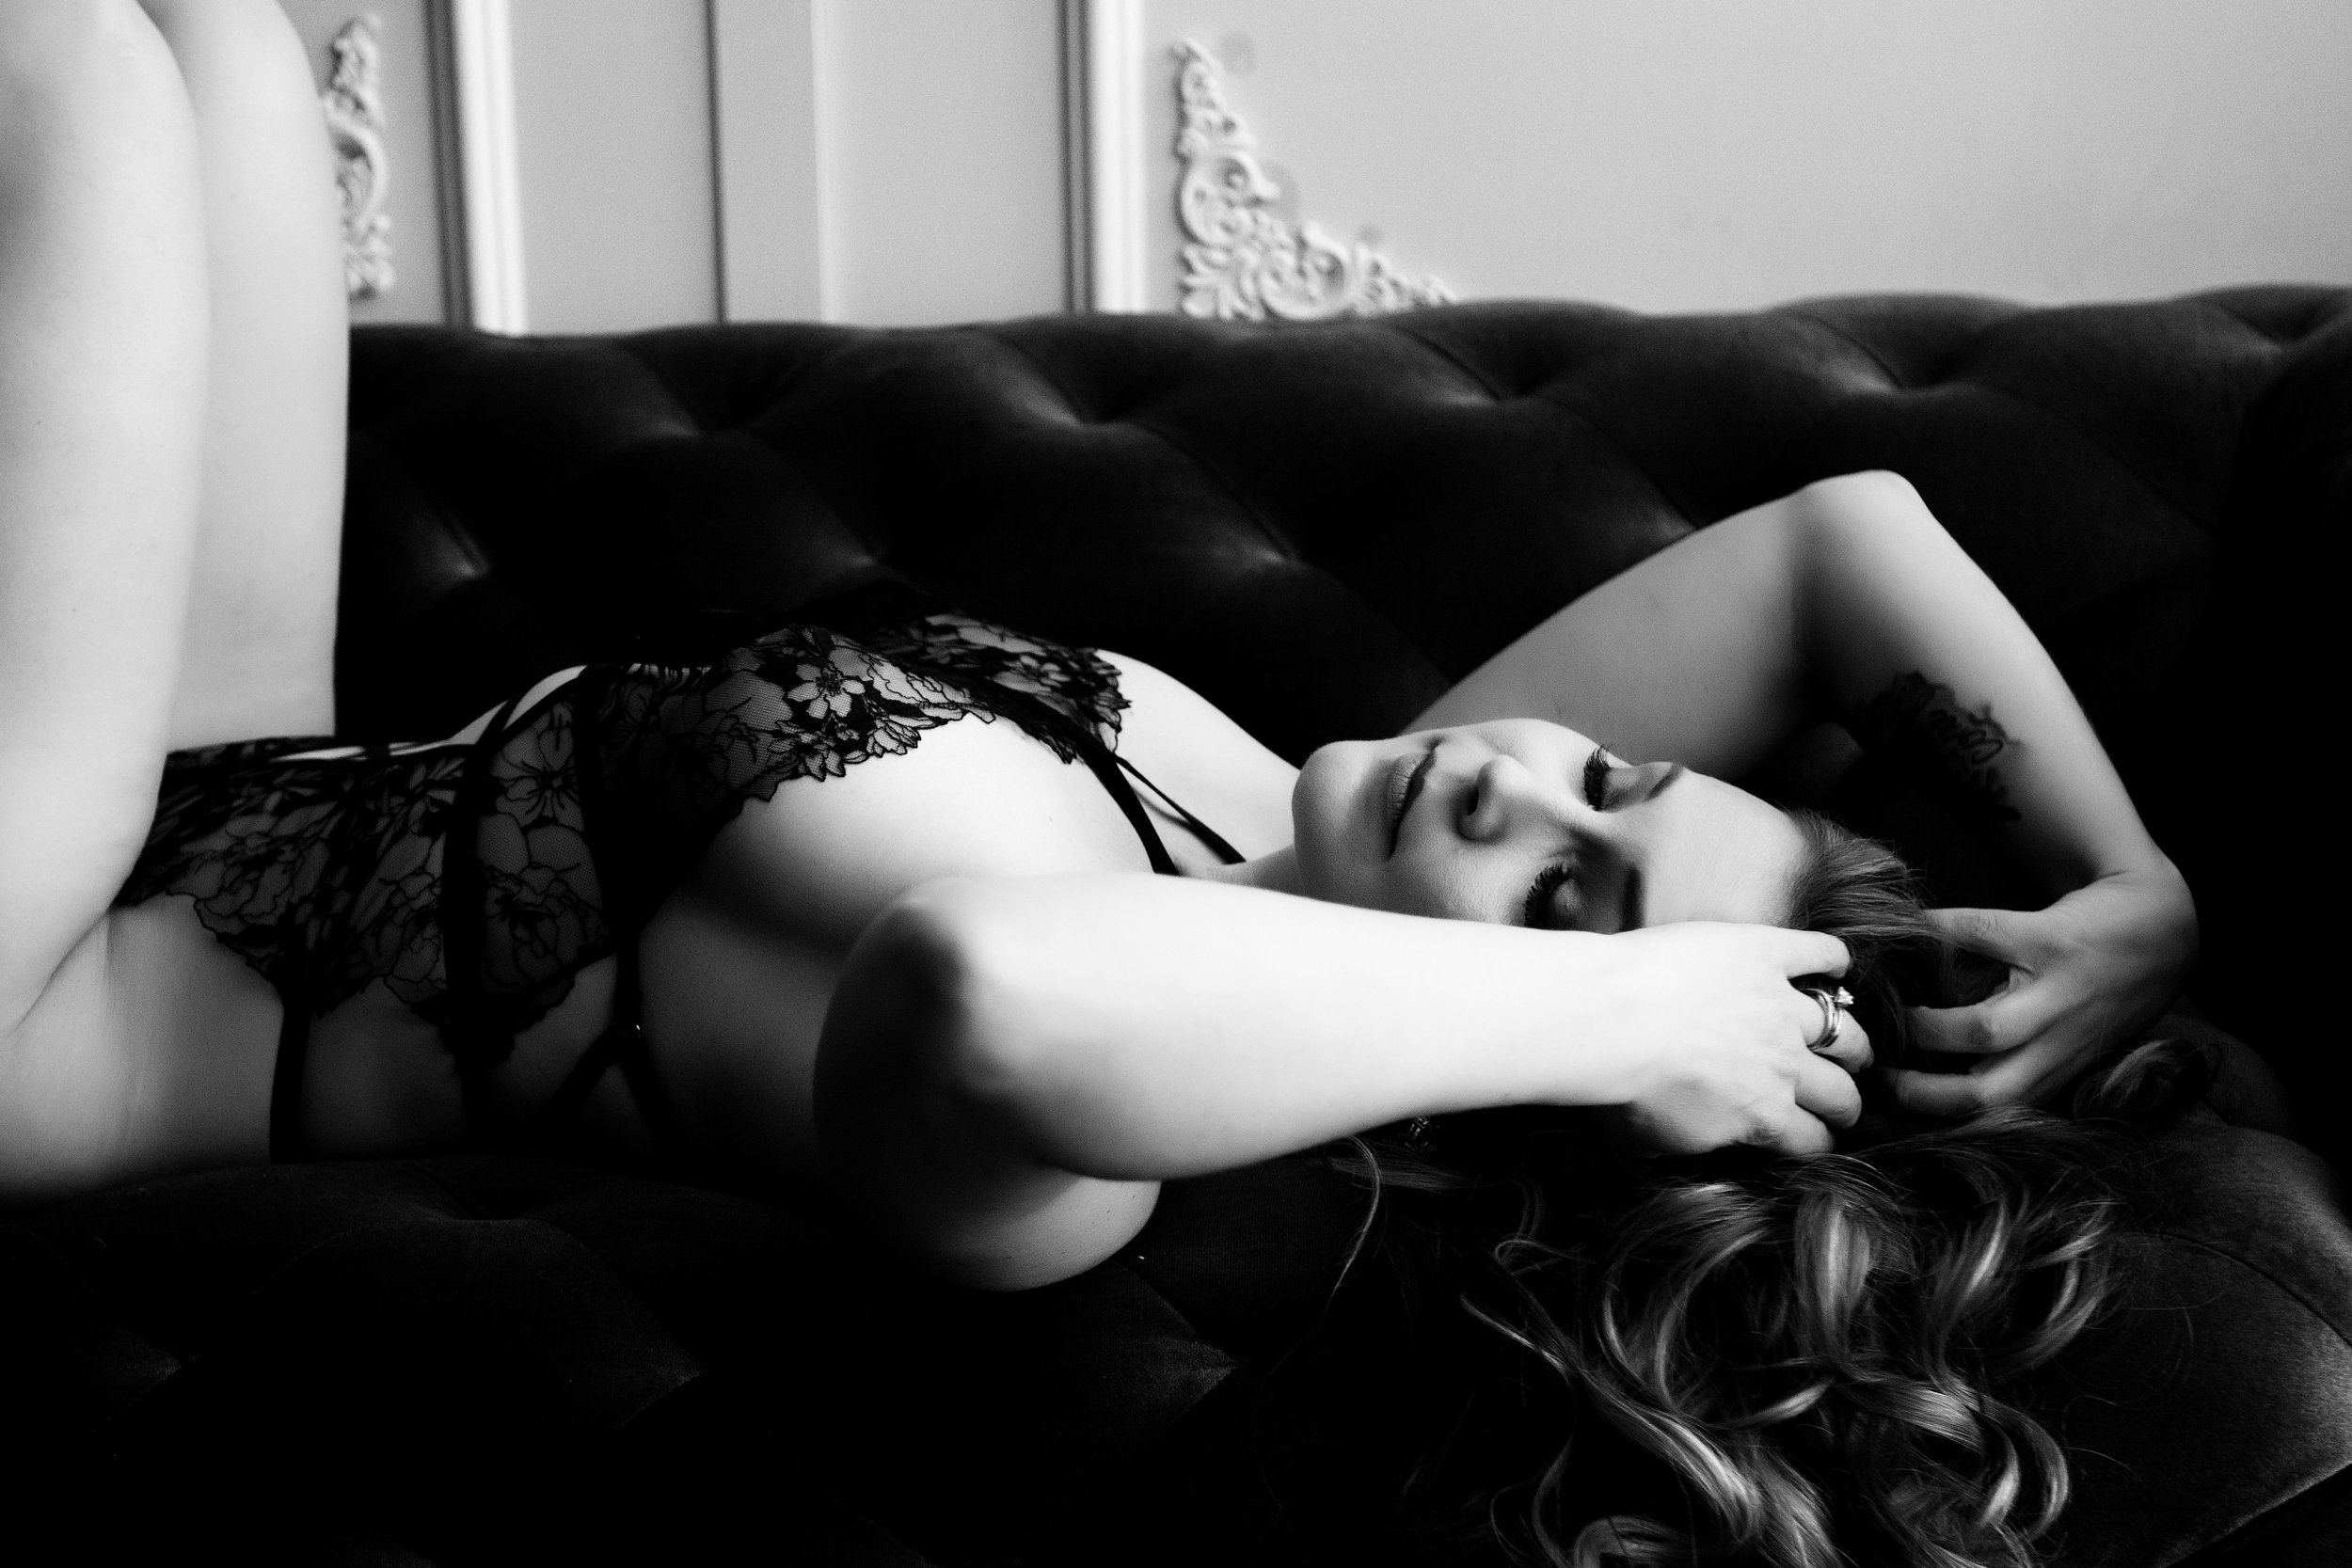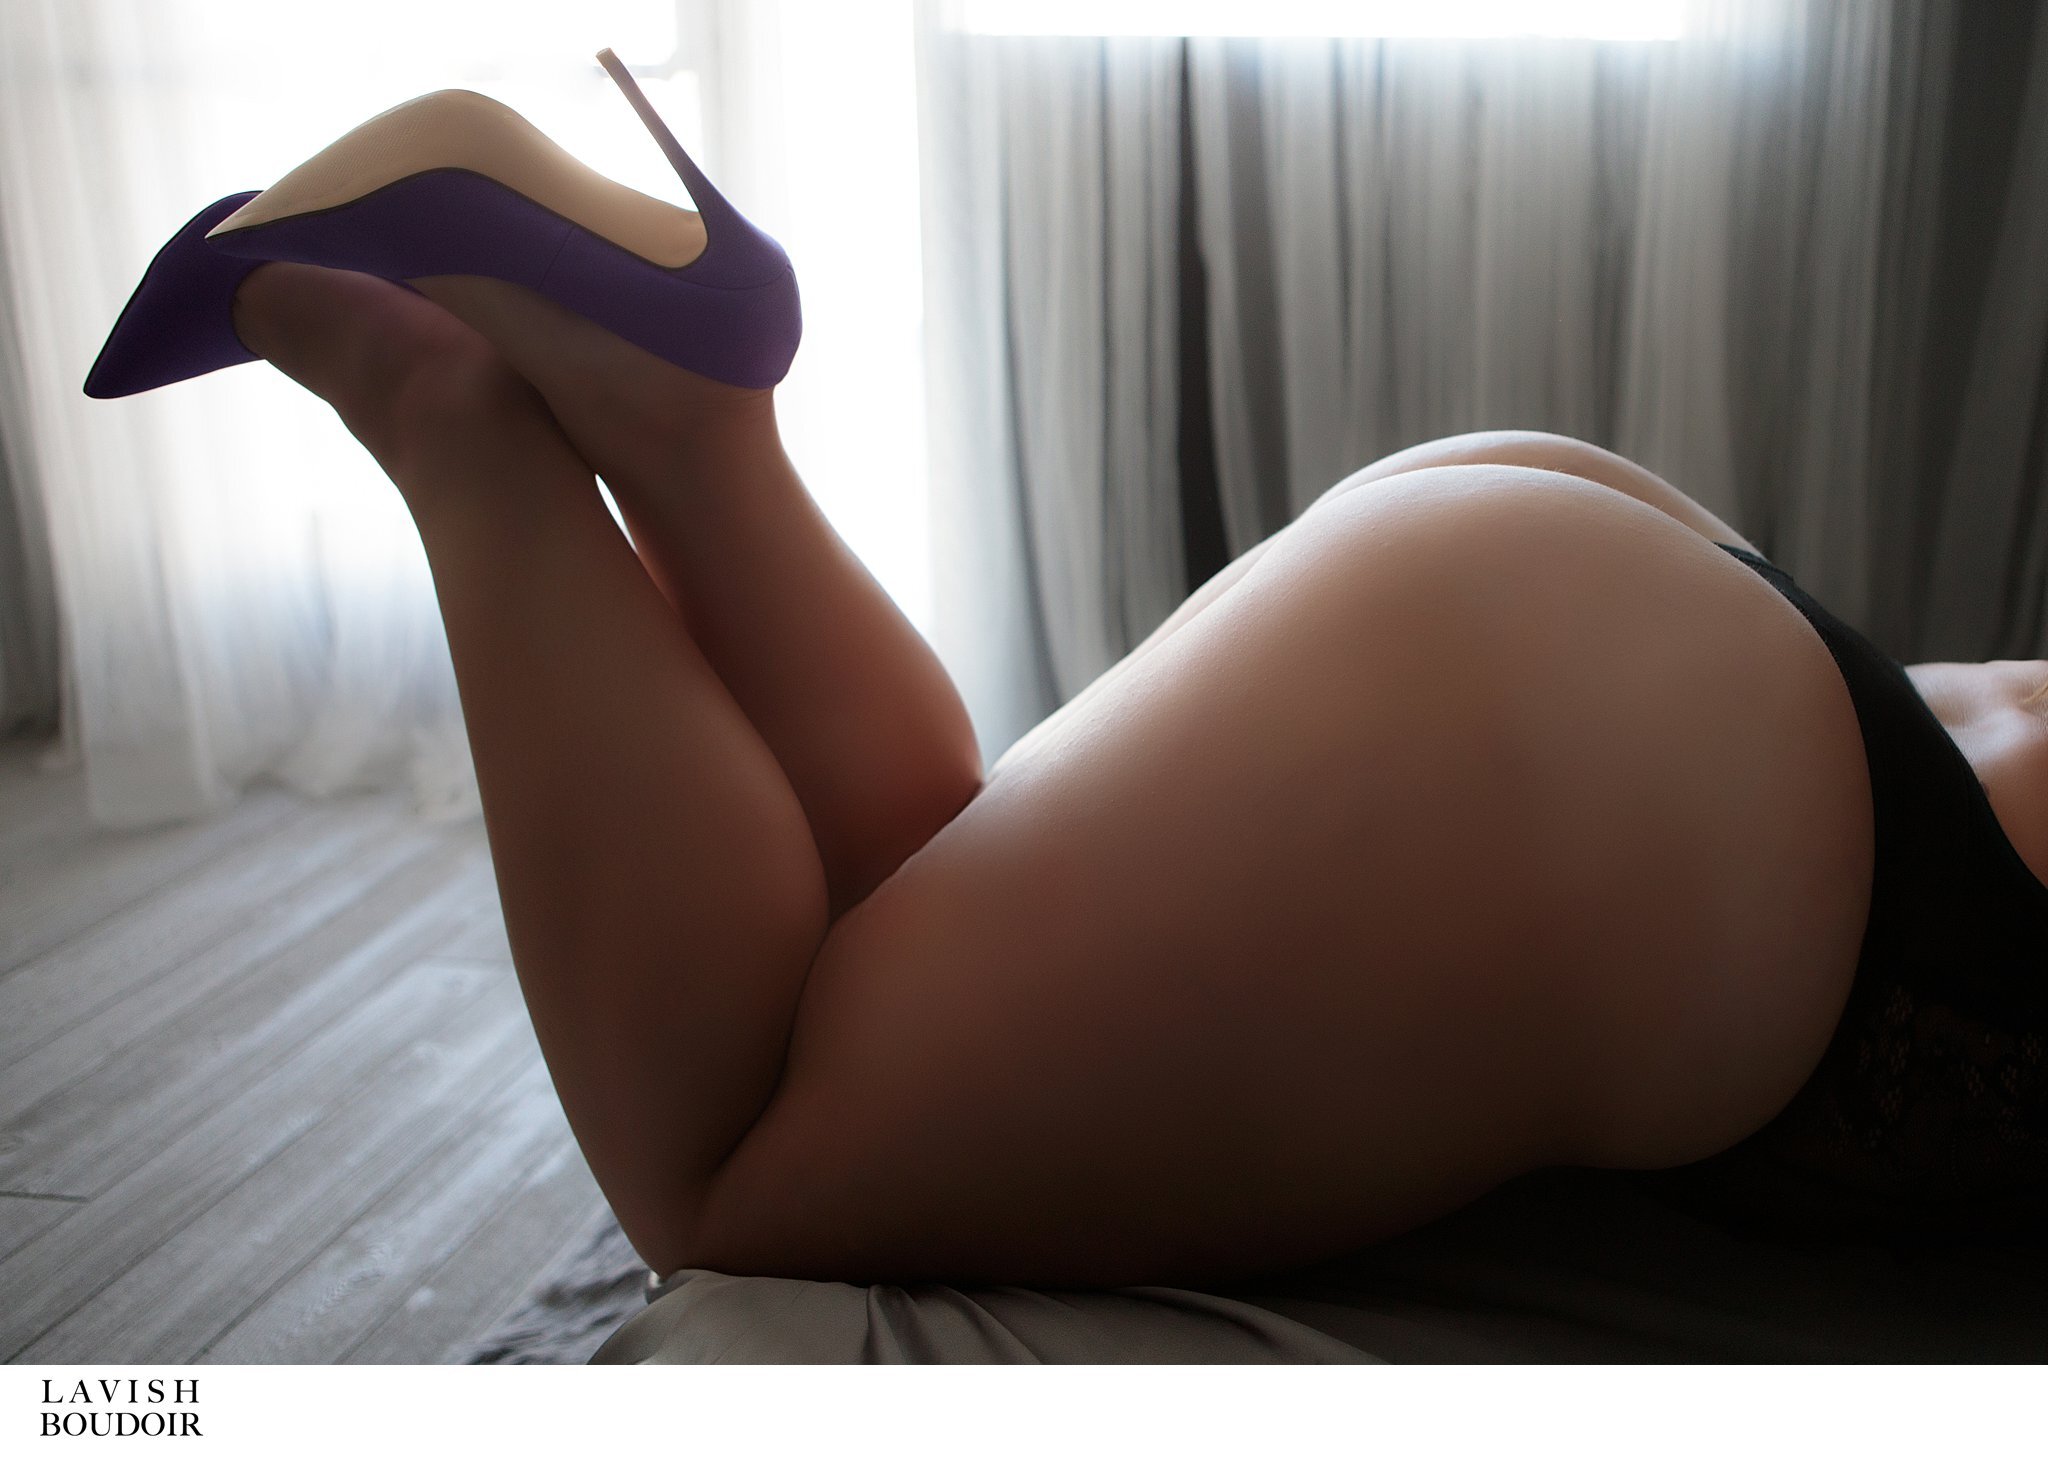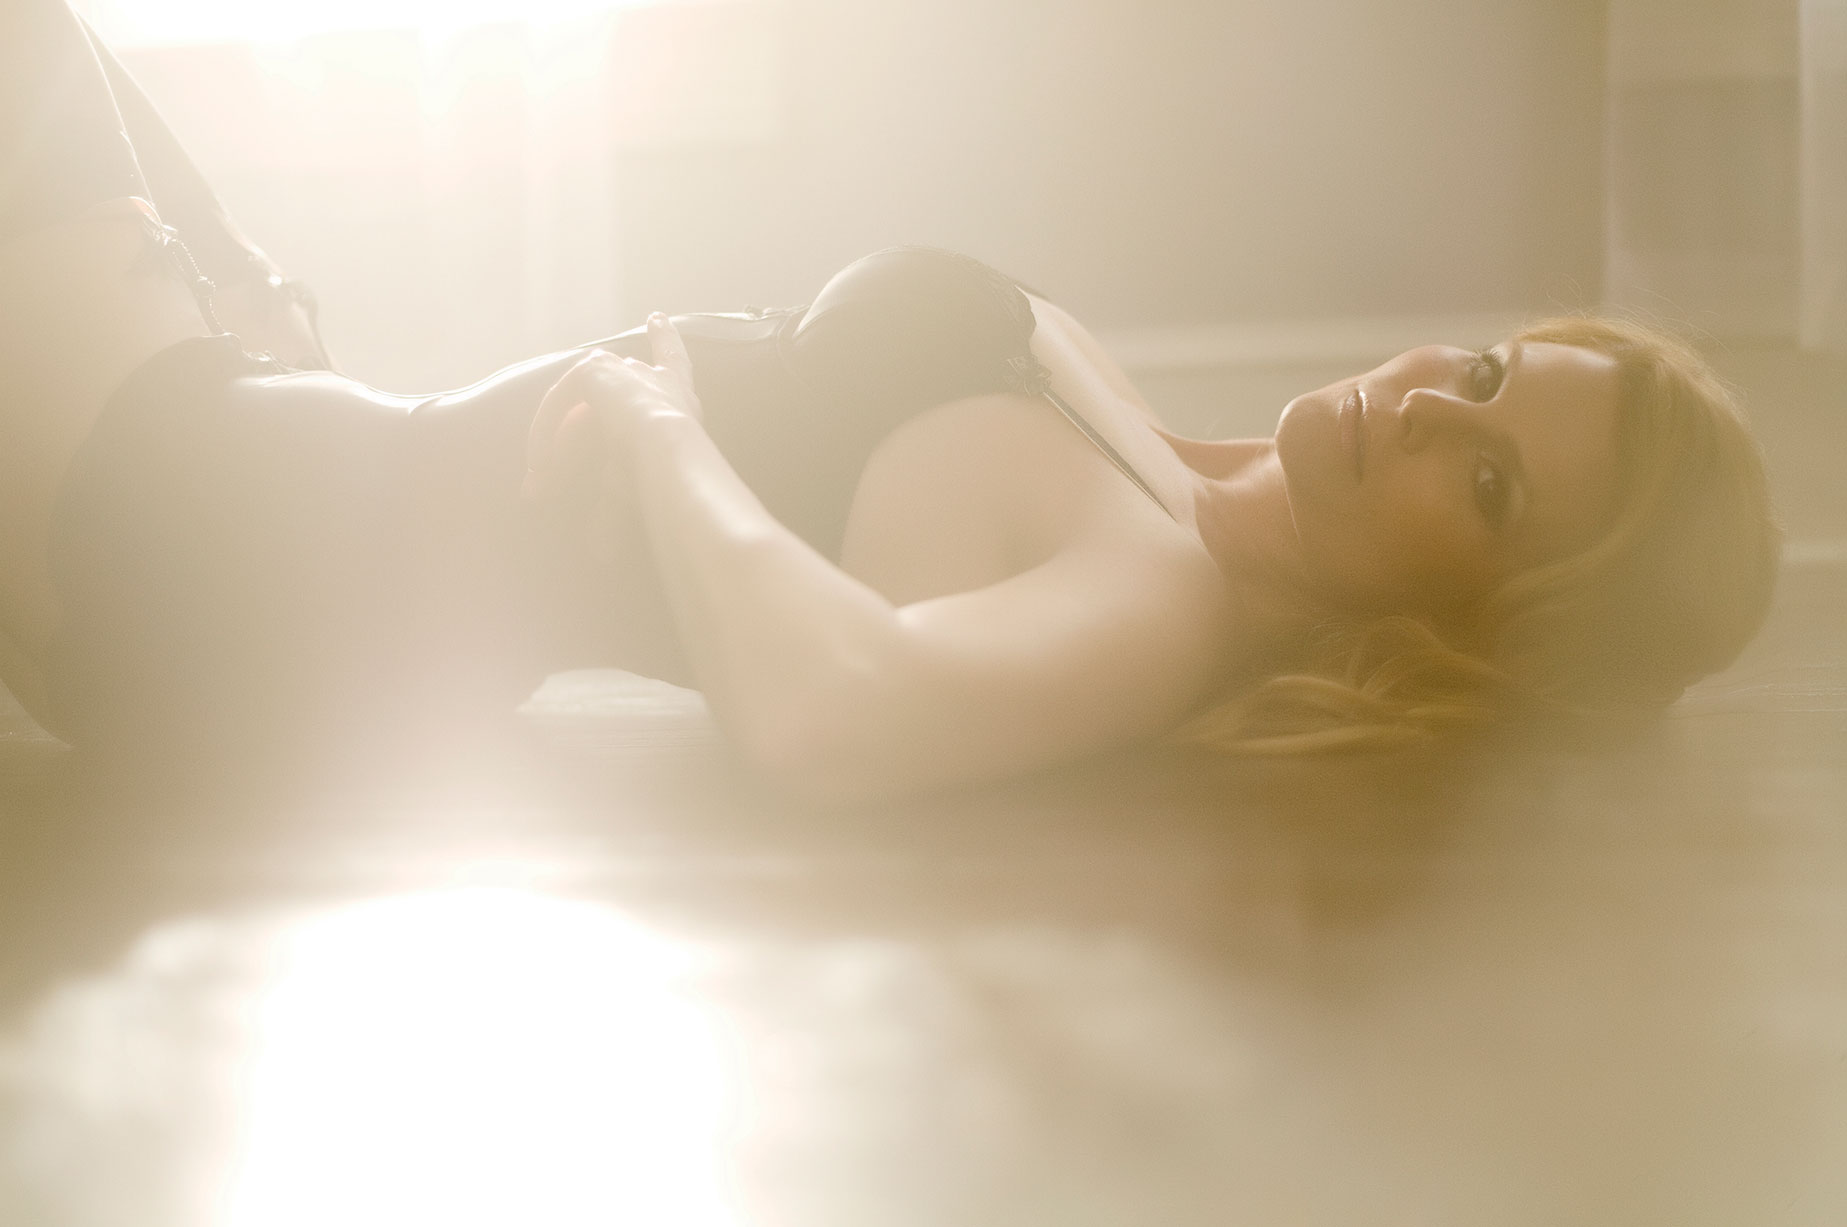
Boudoir blog for women in Maryland, Virginia & DC who are interested in booking a boudoir photoshoot near them. Products, clients, tips and tricks are a few of the things you’ll find on the Lavish Boudoir Blog.
Boudoir as a not-so-traditional wedding anniversary gift!
While I’m all about doing this just for yourself, I do think that keeping that sexy and confident spark alive can do wonders for your relationship.
Signs you could use a boudoir photoshoot to help your marriage
you feel so overwhelmed with life that you just can’t seem to get in the mood
you don’t have any lingerie that makes you feel good
your body has changed and you feel less comfortable in your skin
you wonder if you’re still attractive
I get it. I’m a mom of two young boys. I’m restarting a business in a new part of the country. I’m 25 pounds heavier than I was on my wedding day. We met in college, so inevitably our dedication to sexy time has dwindled.
I have had boudoir done since I was a newlywed and the effect it has on me has evolved over the years. At first it was about being playful and flirtatious. As I got older and had kids, it reminded me to keep seeing myself as my husband’s girlfriend… not just his wife.
One client of mine told me that when she and her husband snuggle into bed for storytime, they read their favorite “storybook” which is her boudoir album. She gets the thrill of seeing her photos, but also seeing his reaction to them.
So if you want to jump-start that sexy time or just keep the fires burning… let me give you an excuse by turning every traditional anniversary gift into a boudoir-related gift.
1st Anniversary: Paper - a beautiful album full of prints on photo paper
2nd Anniversary: Cotton - wear his favorite comfy tee with a cute pair of undies
3rd Anniversary: Leather - so many album cover options in leather and vegan leather
4th Anniversary: Fruit or Flowers - floral lace lingerie is so pretty for boudoir
5th Anniversary: Wood - ha… give him wood
6th Anniversary: Candy - present his album with edible massage oil
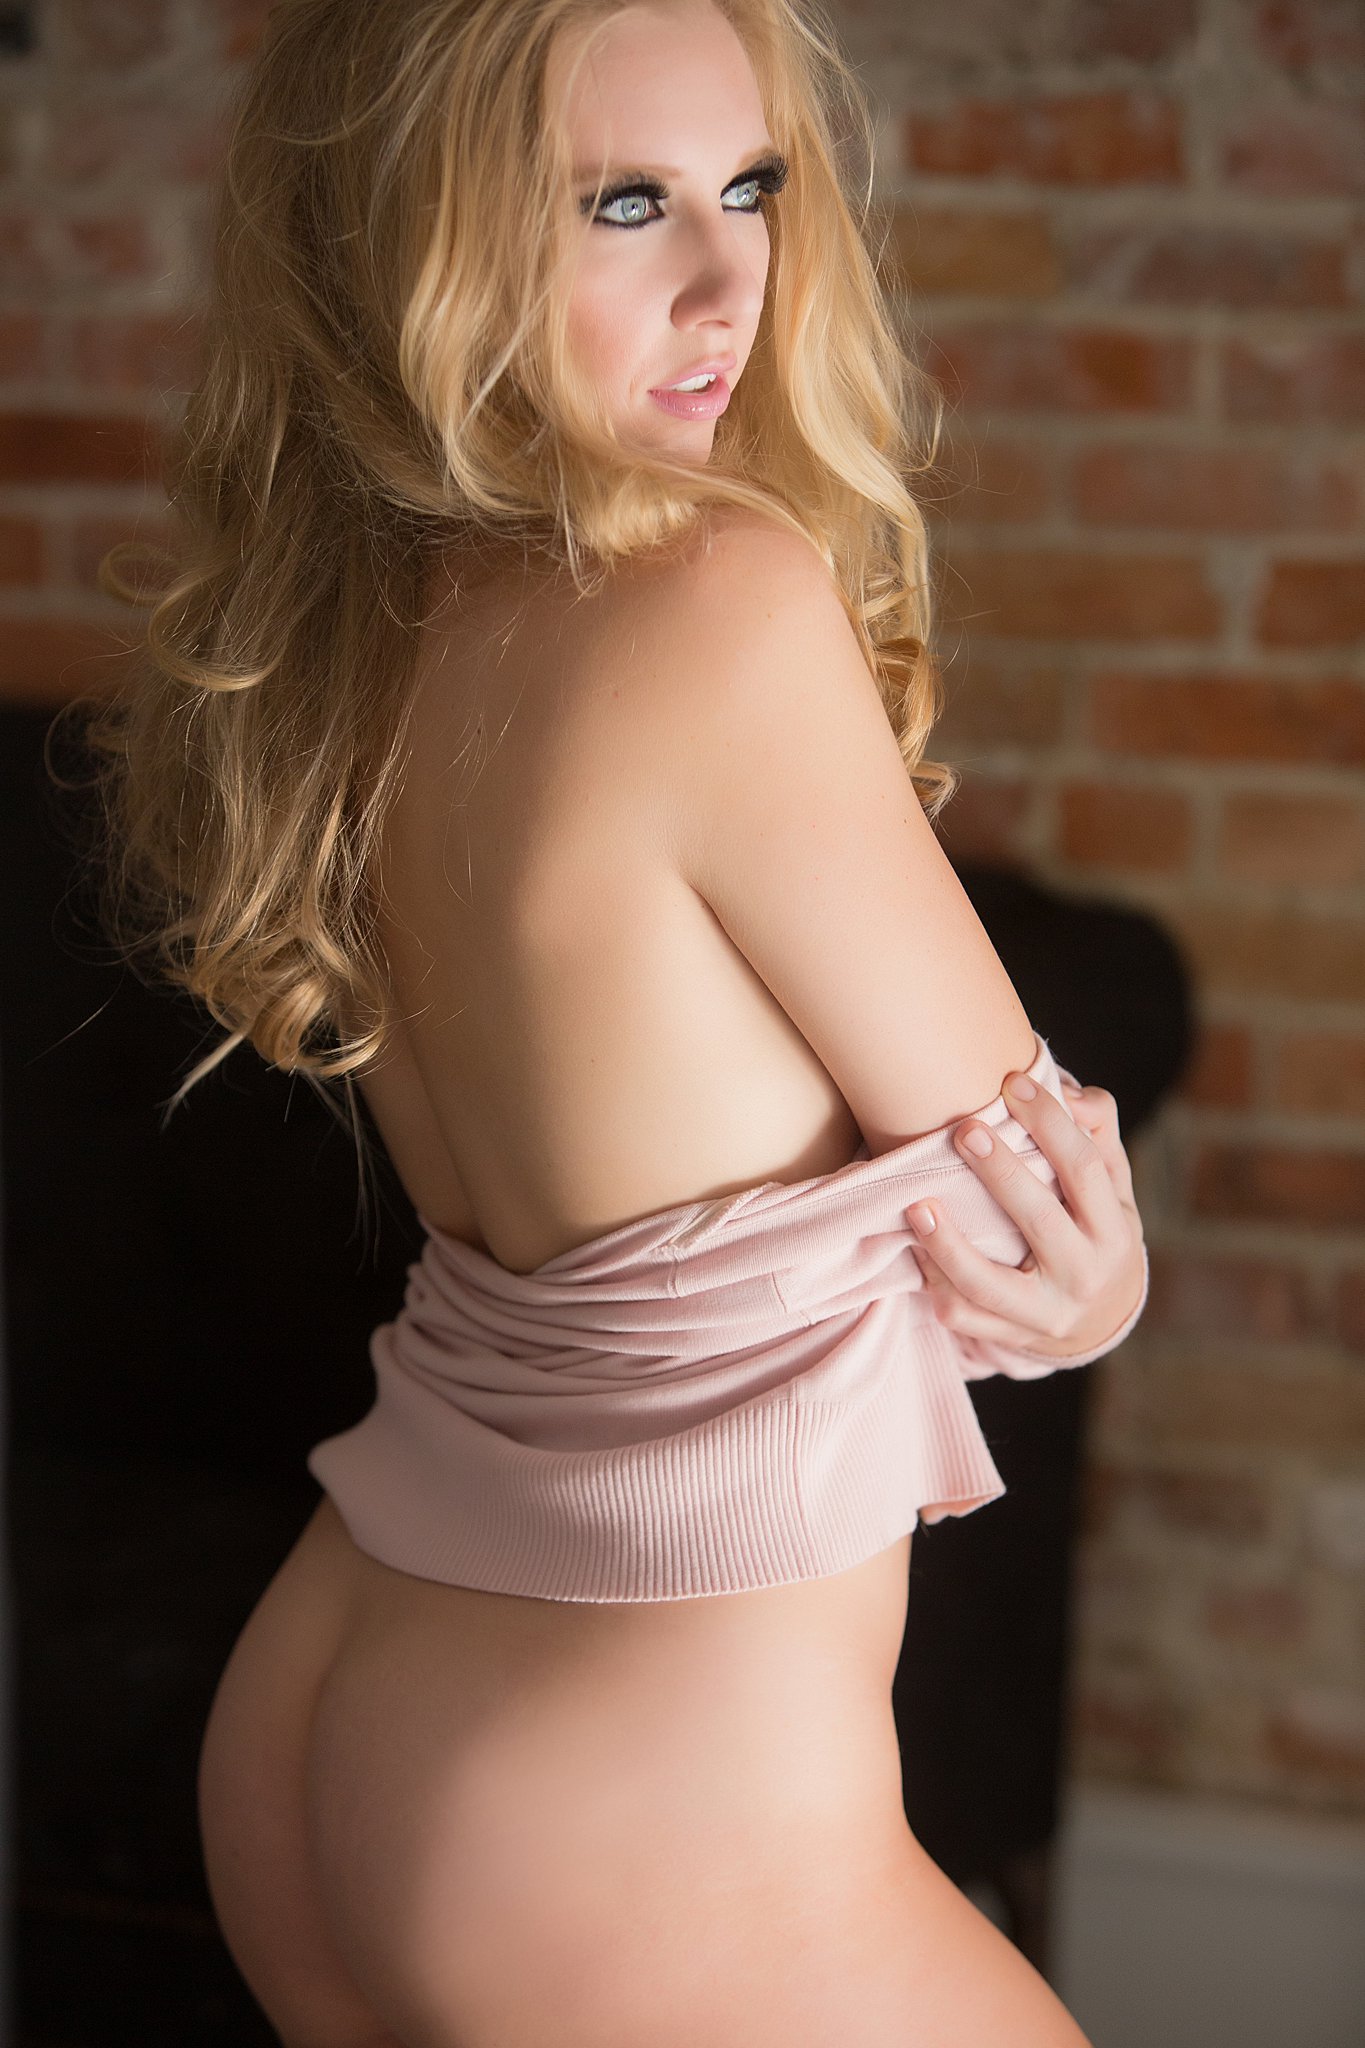
7th Anniversary: Wool - wear a cozy winter sweater and nothing else
8th Anniversary: Bronze - choose an album cover that has a bronze effect
9th Anniversary: Pottery - a magic mug is one of our novelty gifts
10th Anniversary: Aluminum - a sexy piece of metal wall art printed on aluminum
11th Anniversary: Steel - bring your highest heels with steel posts in them
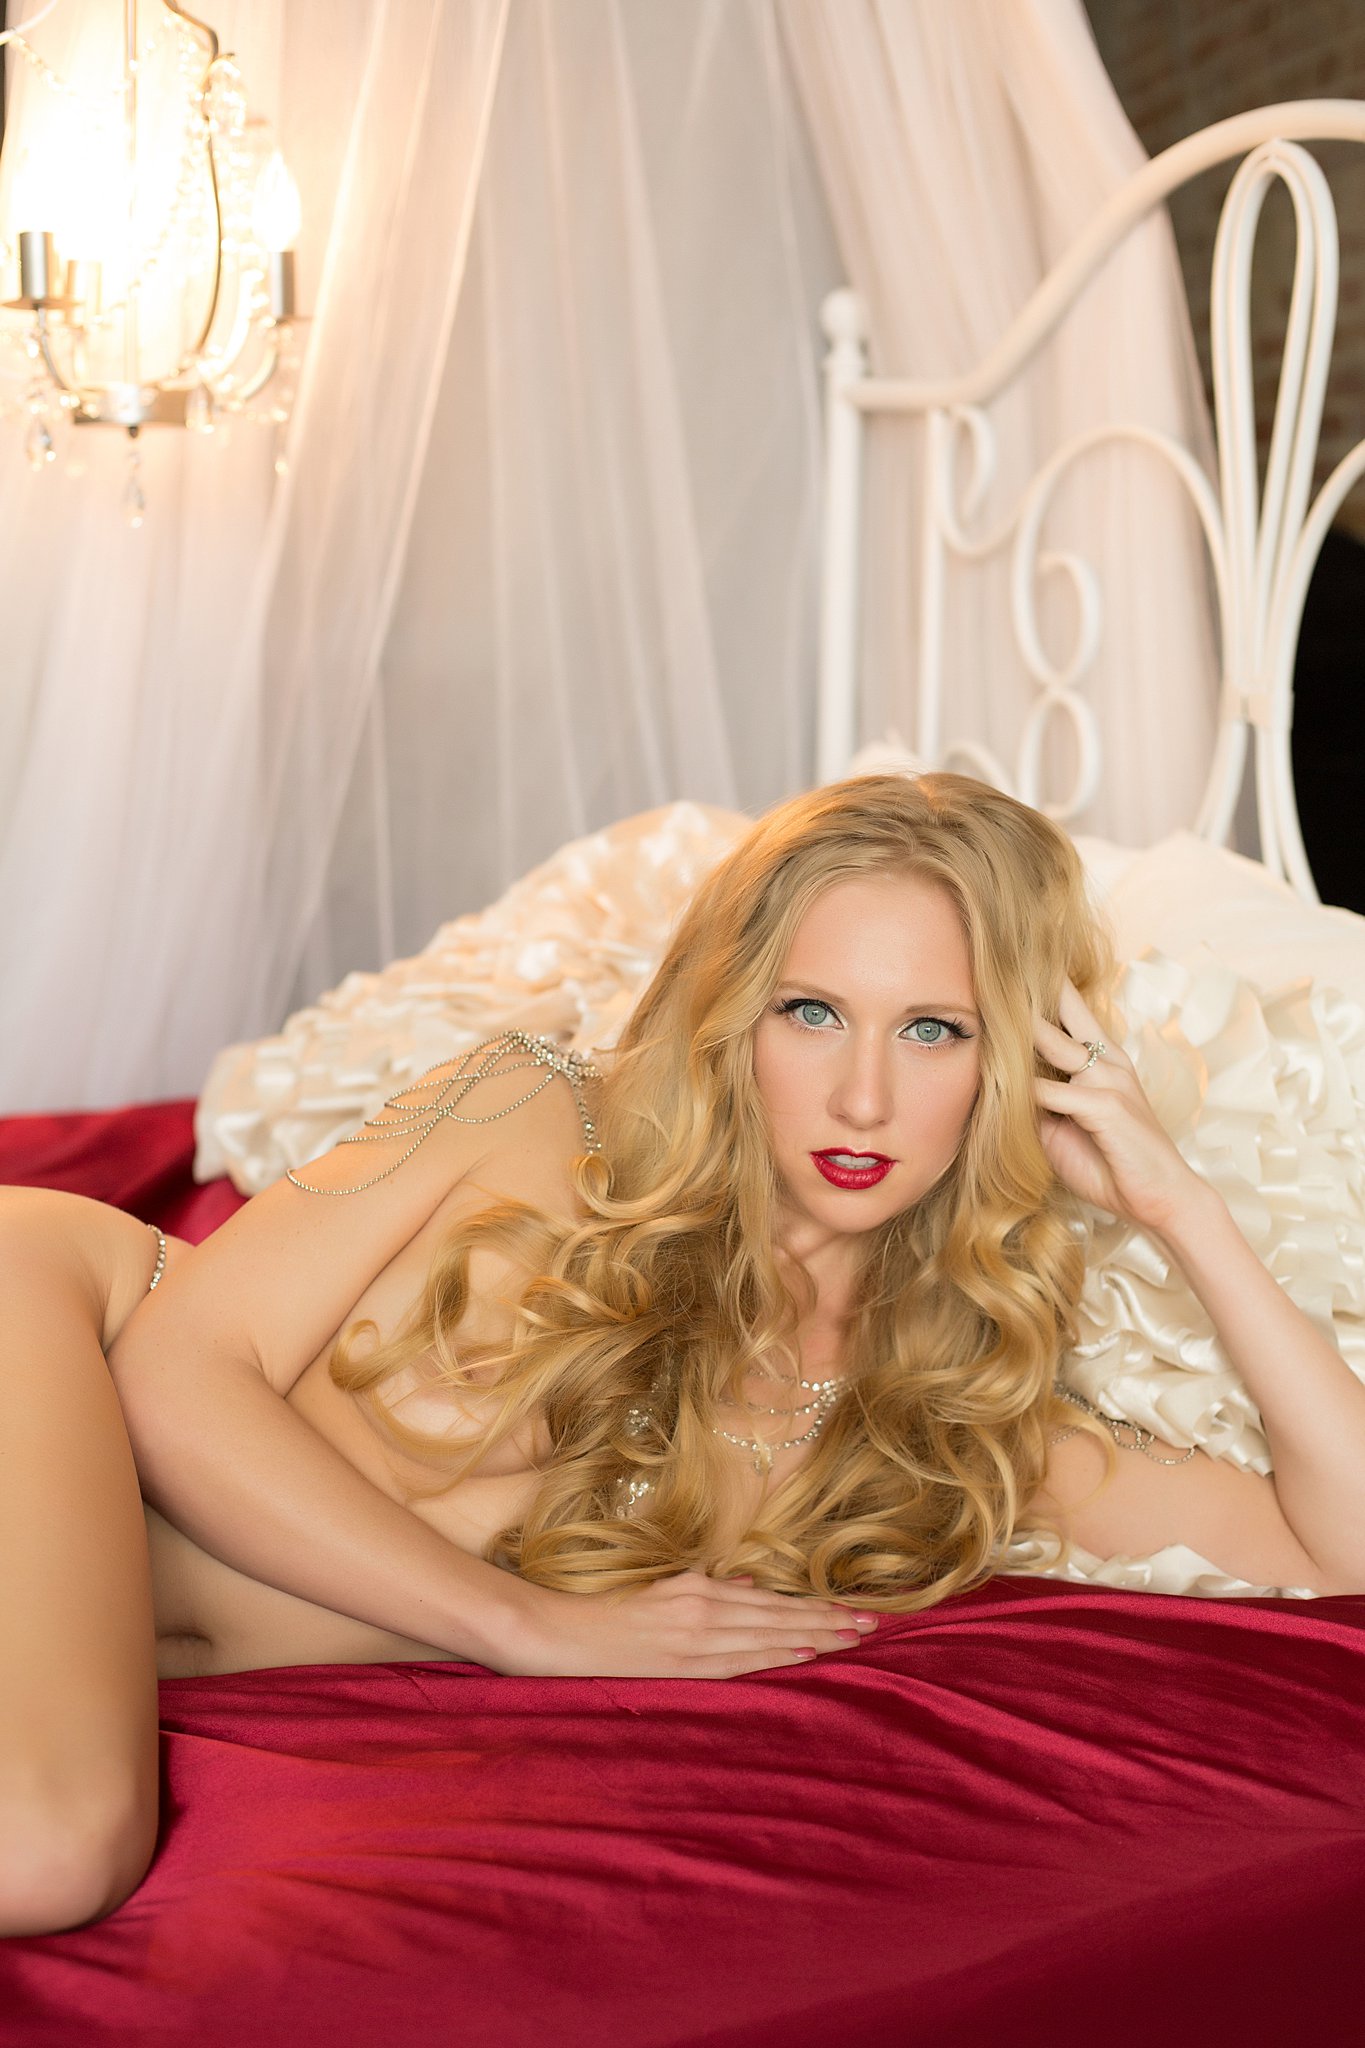
12th Anniversary: Silk - take photos in our red silky satin sheets
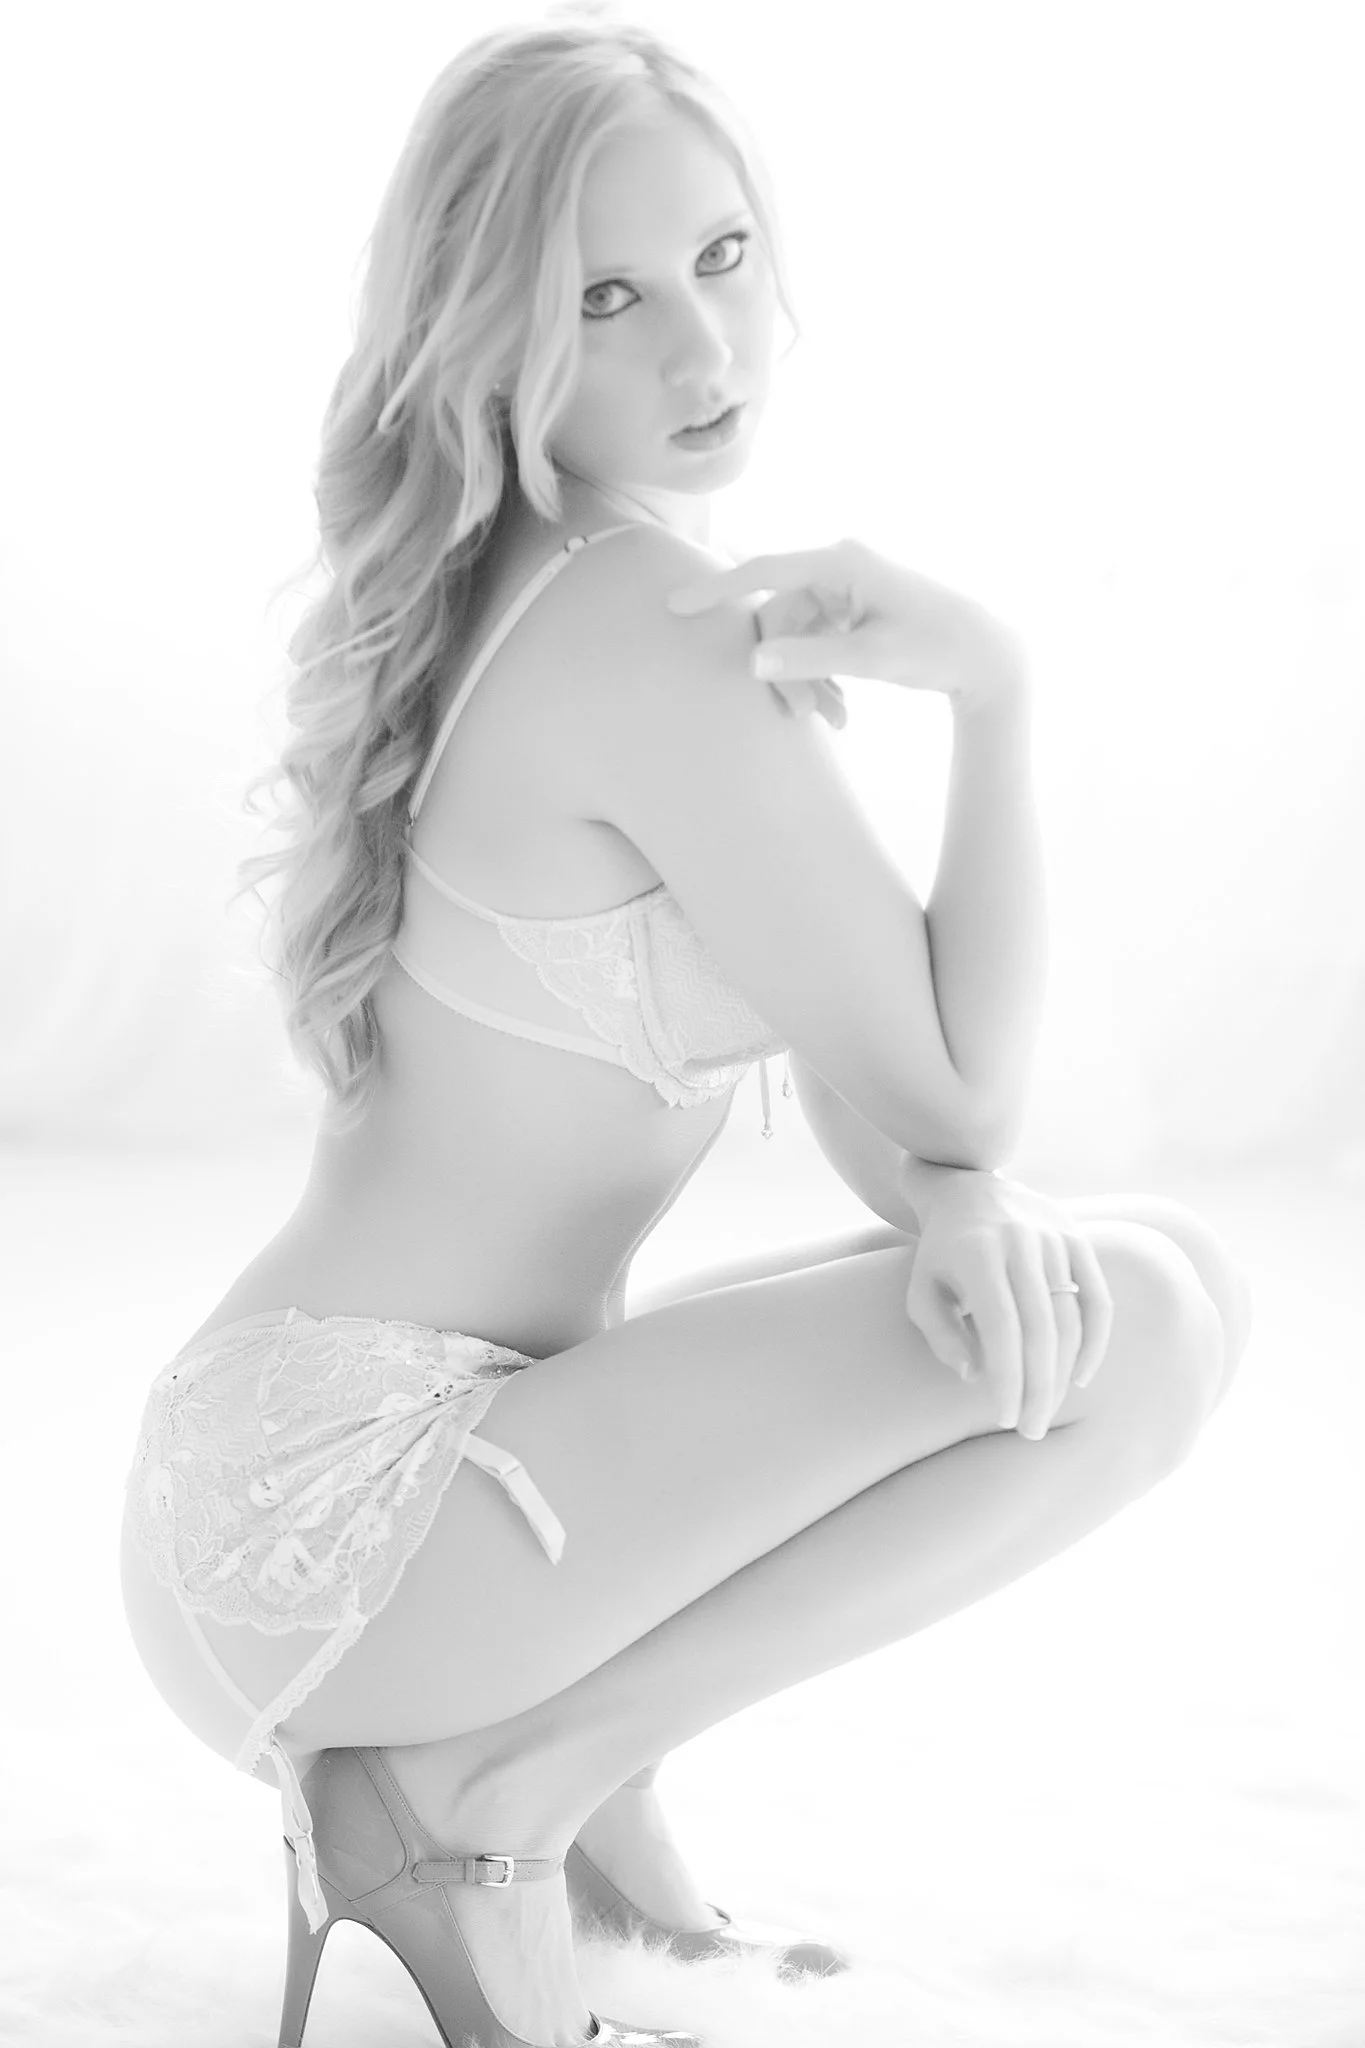
13th Anniversary: Lace - Lacy lingerie is guaranteed to cause celebration
14th Anniversary: Gold Jewelry - Fancy up your album with an imprinted gold font message
15th Anniversary: Crystal - Our most popular album upgrade is a crystal photo cover
16th Anniversary: Coffee or Tea - Wear a shirt that says “Coffee, Tea or Me?” in our sheets set
17th Anniversary: Wine or Spirits - toast him in the photo with an elegant glass
18th Anniversary: Appliances - I’ll let you keep the appliances for “story time”
19th Anniversary: Jade - Jade jewelry can really pop in our dark and moody set
20th Anniversary: Platinum - we have a gorgeous platinum leather cover choice
21st Anniversary: Fire (theme) - silhouette photos with the red light
22nd Anniversary: Water (theme) - our faux shower set
23rd Anniversary: Air (theme) - light and airy photos
24th Anniversary: Stone (theme) - wear a piece of stone jewelry (diamonds are a stone!)
25th Anniversary: Silver - Our silver sofa set is so pretty
26th Anniversary: Art - What better art than art that stars you!
27th Anniversary: Music - Set your slideshow to music
28th Anniversary: Linens - Photos in the white sheets are a client favorite
29th Anniversary: Tools/tulle- delicate tulle is beautiful for draping
30th Anniversary: Pearls - a provocative photo wearing nothing but pearls
All of these ideas give you the perfect excuse to book your transformational boudoir photoshoot.
I can’t wait to hear what it does for your love life.
It's not once-in-a-lifetime after all!
Meet Jessica (I’ll use her real name because she’s proud of these photos).
She became a client years ago and has continued to work with me over the years (twice flying across the country just to be photographed).
Let me tell you about Jess over the years I’ve known her.
2011
She had just graduated from college. She wanted photos while she was young and cute. Her shoot was over-the-top and a little wild. The kind of wild that comes with being 22.
2012
Jess was coming into her sensuality. She was learning what it meant to be a woman rather than a girl. She exuded confidence in a way that said, “I don’t need to impress you.”
2013
This was J’s first shoot where we got her completely nude. Honestly, I think it was the first time I was brave enough to shoot nudes. I have those in the studio. She is so lucky to have captured her figure at this stage.
2014
Bridal boudoir! Recently engaged, she wanted a gift for herself (and her amazing husband-to-be). We did get a more traditional shot, but I think this one shows off the woman she was going into a marriage. Strong, fierce and sexy.
2015
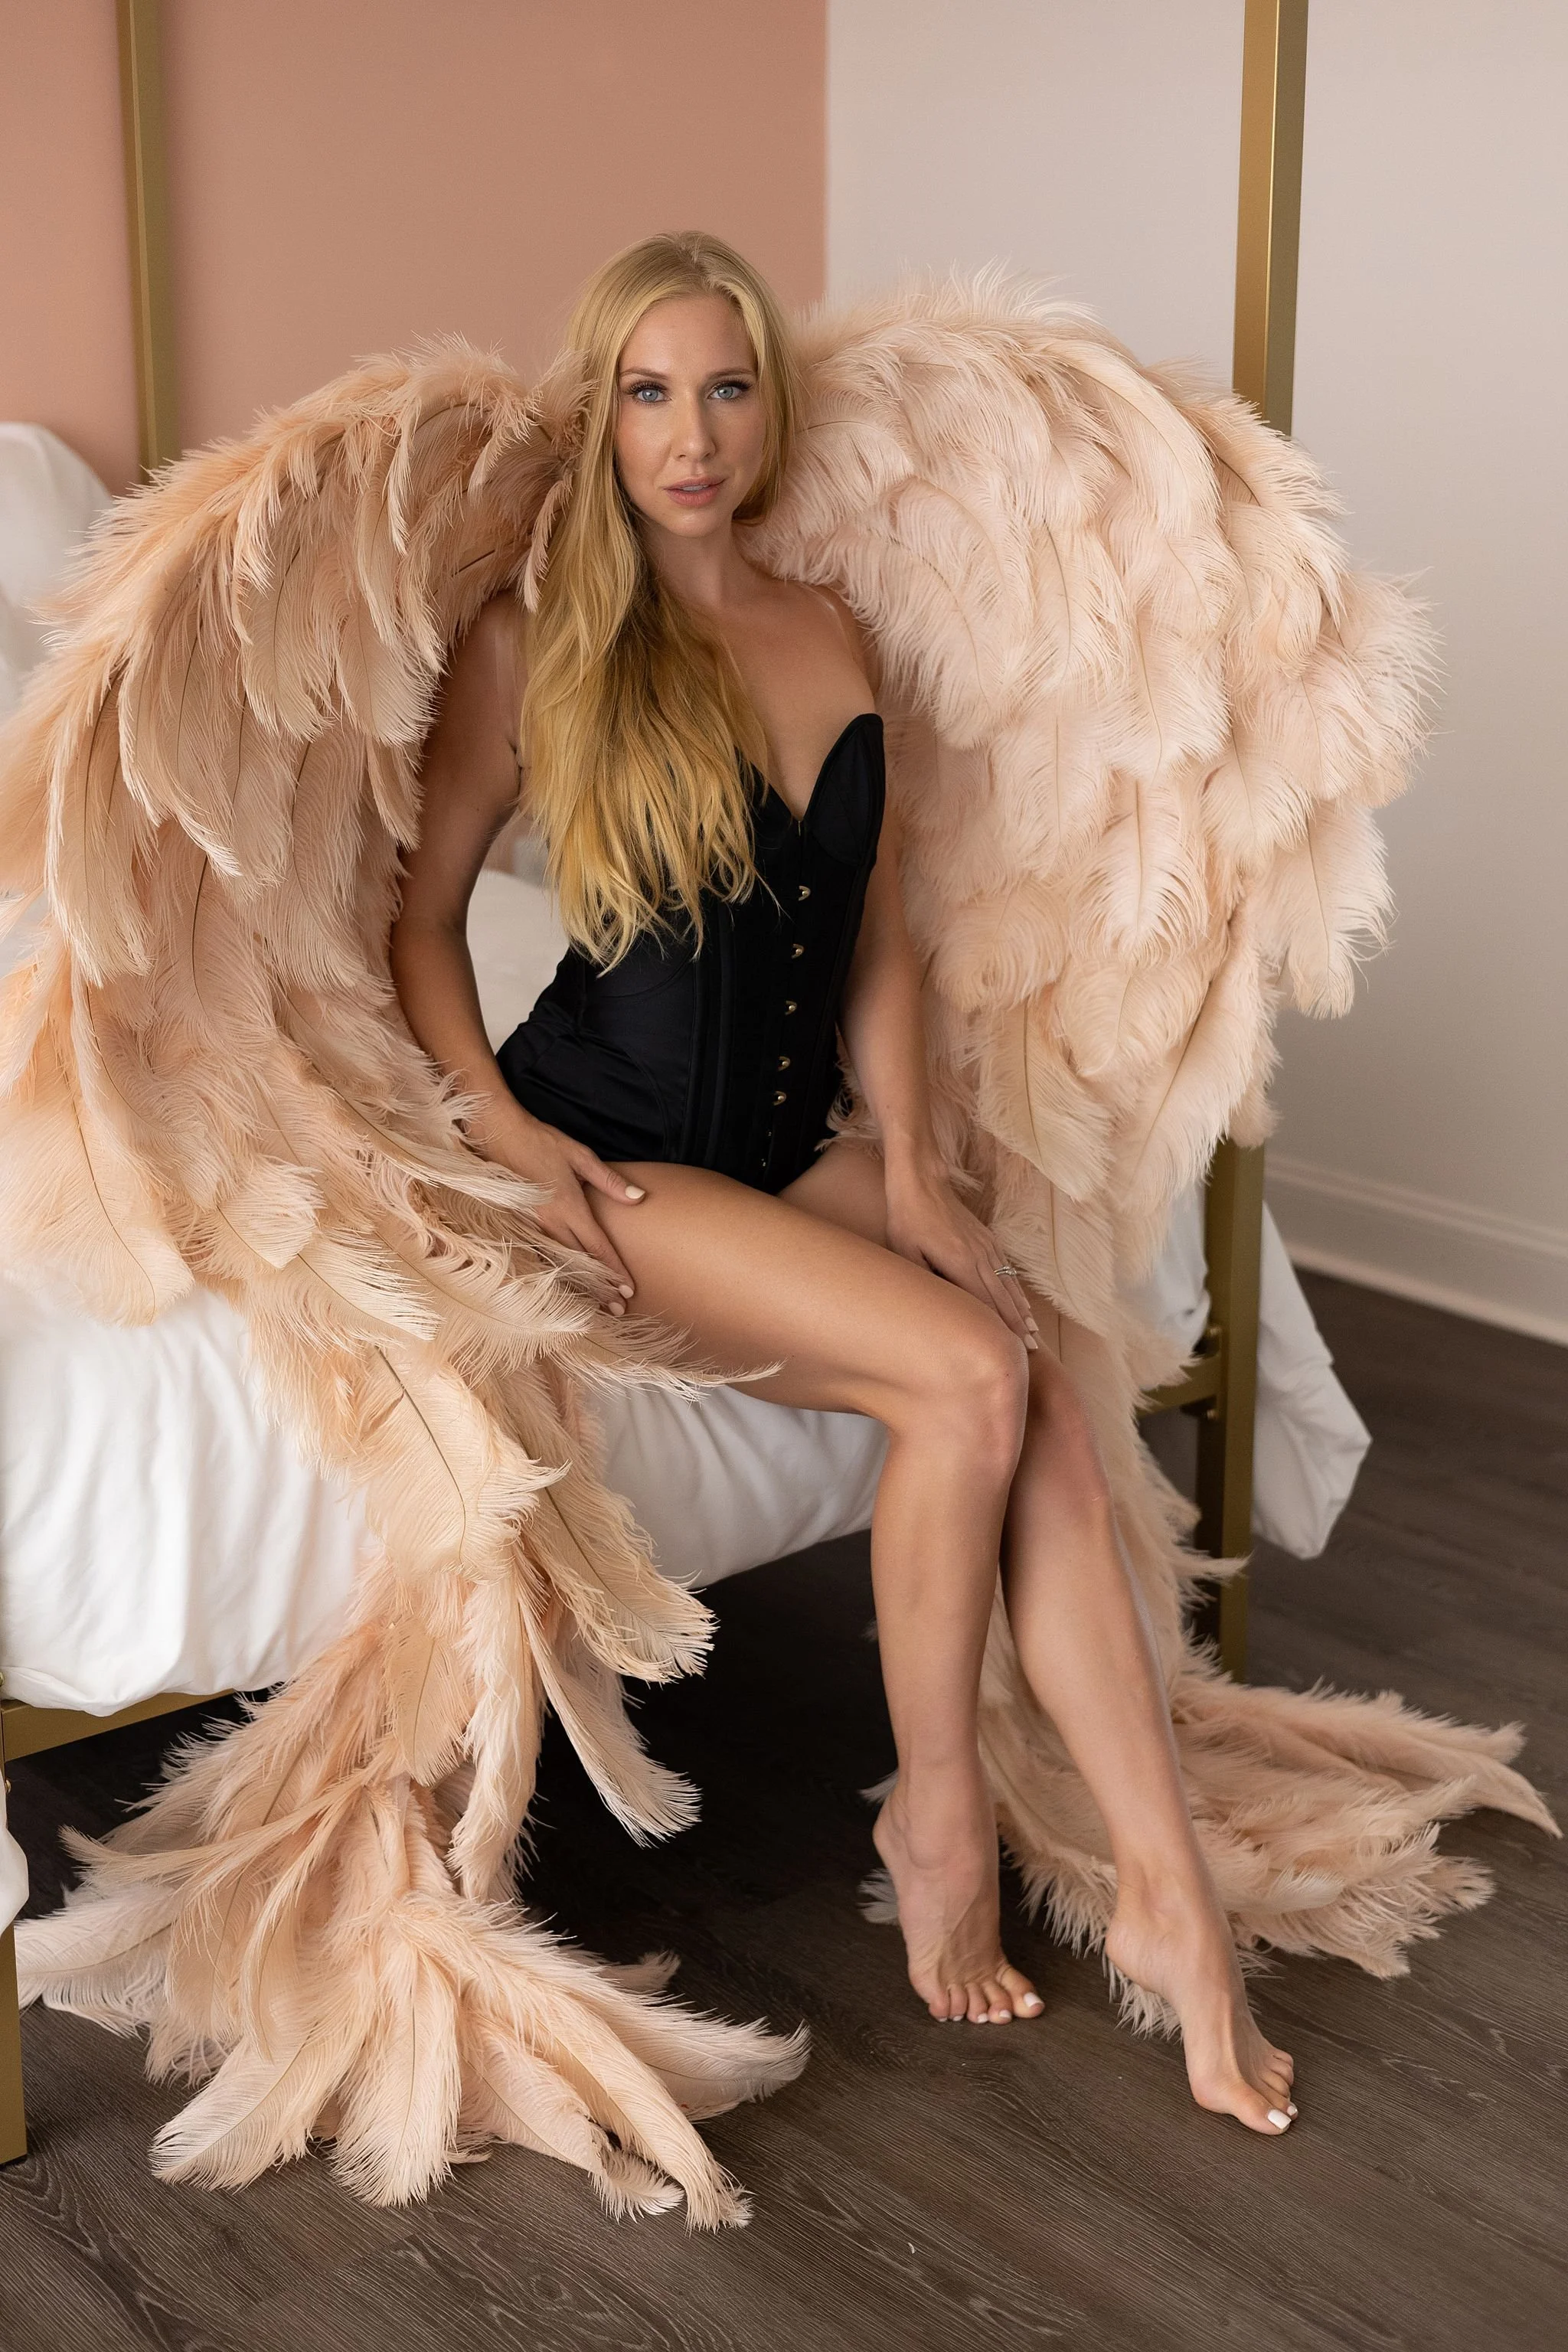
Inspired by the ANGELS book by Russel James.
2016
We actually brought out the lucky groom for a vintage-inspired engagement shoot. Yes, it escalated into a little bit of boudoir… as my shoots always do.
2018
We missed our annual shoot because I was living in Albuquerque and she was in Georgia. But when she had an opportunity to fly out here, we grabbed it.
How amazing is she in this?!
2019
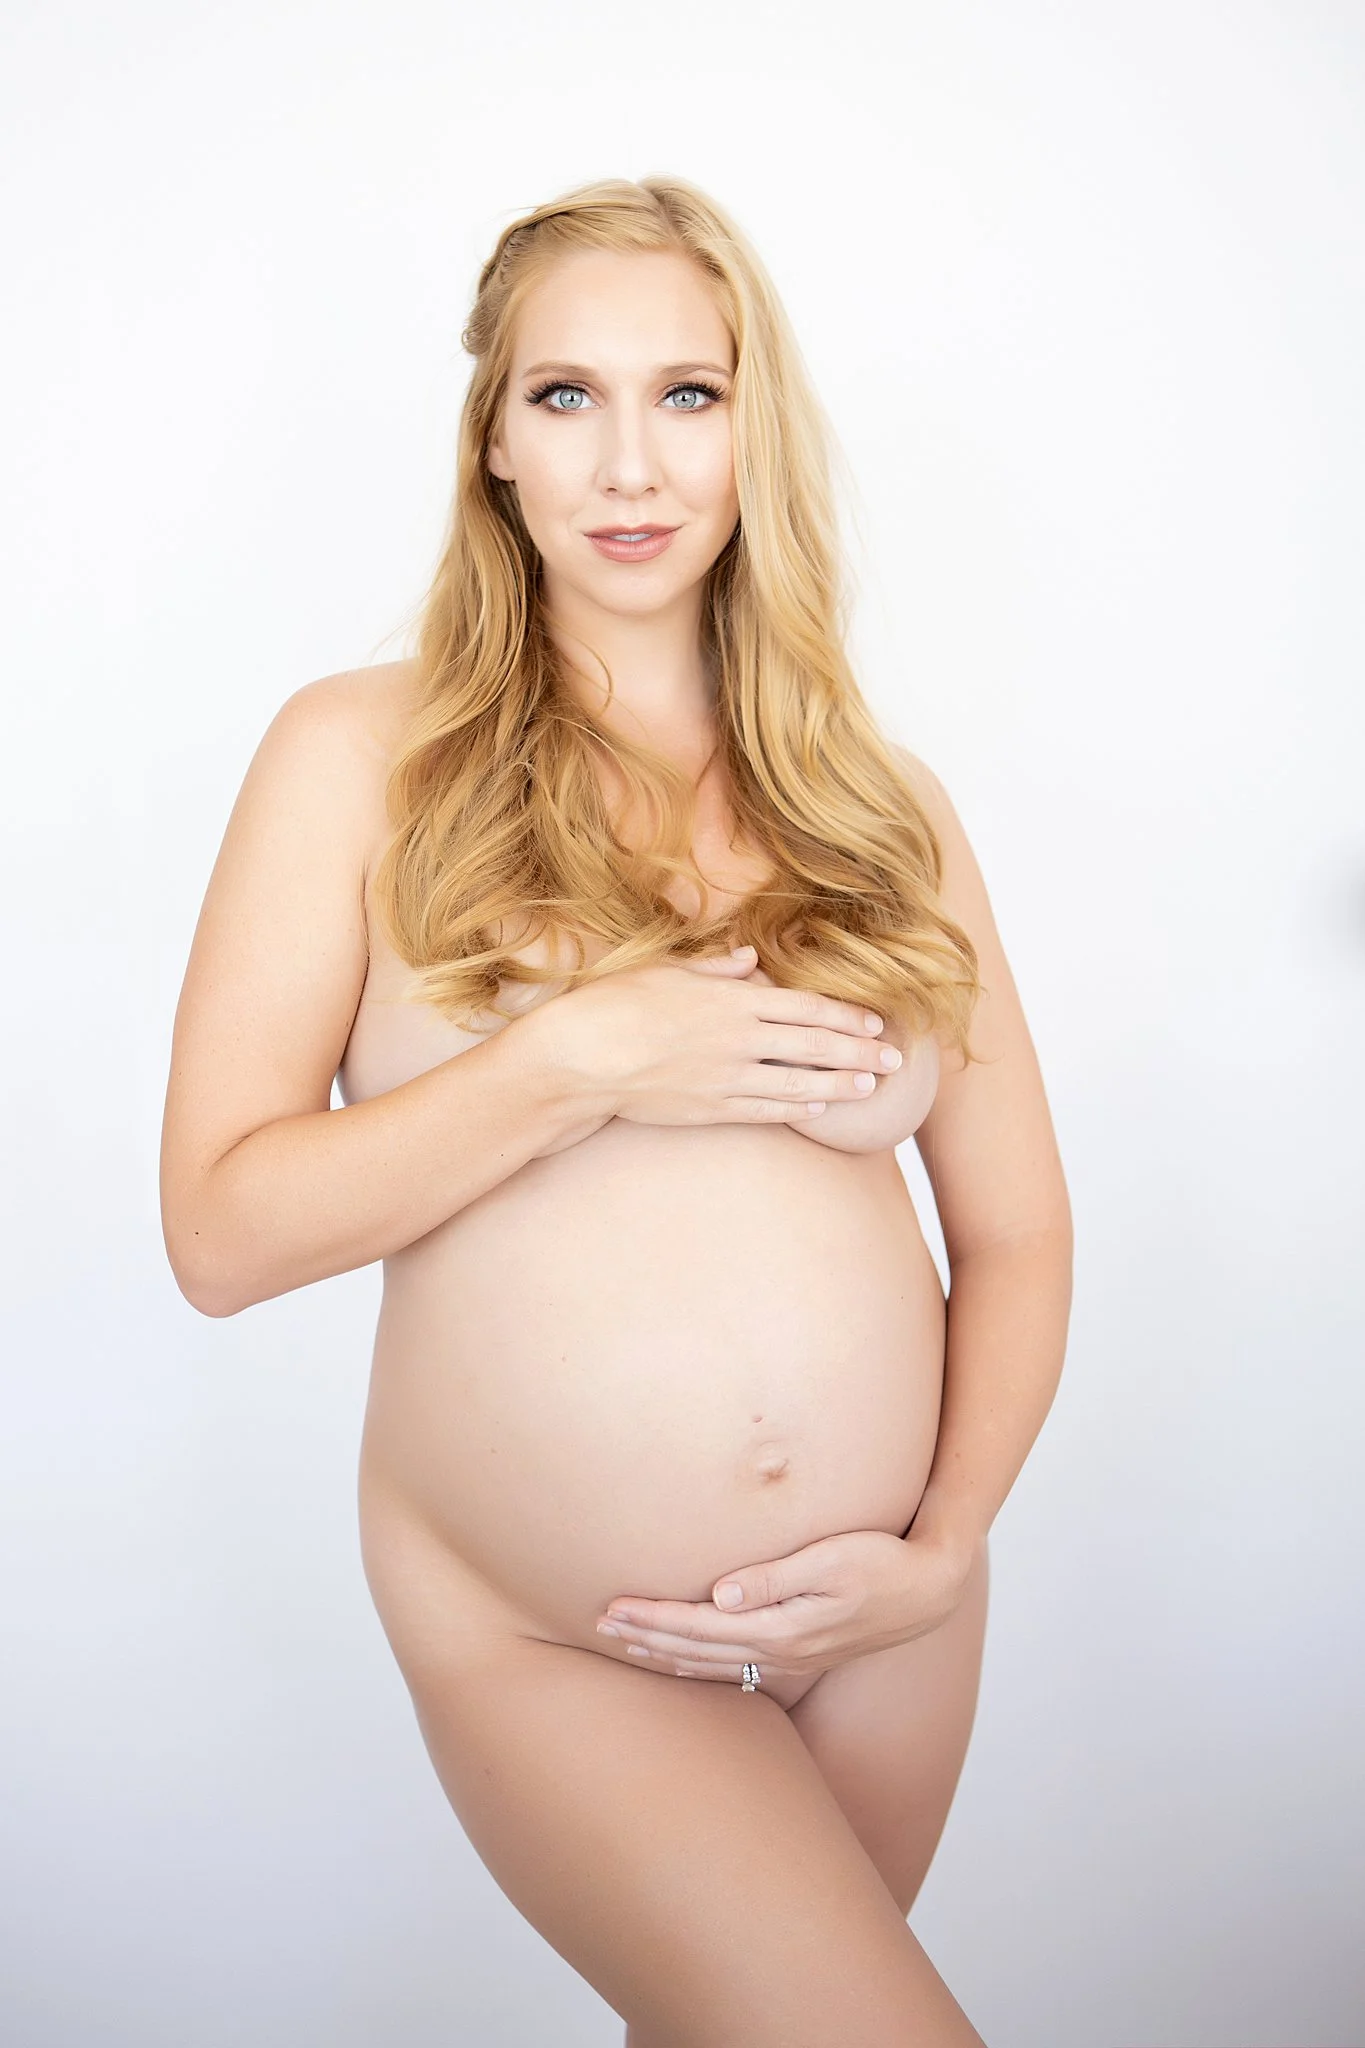
It could not bring more joy to my heart than to do Jessica’s last photoshoot in her 20s. Oh and I got to photograph her just before her baby will make its debut.
I plan to visit her in Georgia next year to capture her and her little one.
Jess, you are going to have the most loved child. You are one for great adventures and this will be your biggest yet.
2022
We had a little gap because of the pandemic and moving states, but here she is in my new Maryland studio. In fact, I insisted she be the first woman I photographed here.
Jess brought her husband and little boy along for the trip. We stayed up late drinking wine and reconnecting while my “big boys” entertained her little guy. The following morning, it was all glamour. Her darling husband even made a Starbucks run for us.
Miss B - The gorgeous Miss B… mom, wife, business owner…
The gorgeous Miss B… mom, wife, business owner…
“Leslie is so wonderful to work with!! From the moment you book your appointment she is there to help with everything. I loved the checklist she sent, it kept me excited and motivated for the shoot since I had scheduled mine almost six months in advance. The day of the shoot was amazing!! I was a little nervous but Leslie’s fun personality will instantly put you to ease. I have never felt more beautiful!! I am so in love with my photos and can’t wait to give my husband the beautifully crafted book for our 10 year anniversary.”
Miss B
The beach rule for your boudoir photoshoot wardrobe styling.
What’s the first thing you start researching when you’ve booked a boudoir photoshoot?
LINGERIE!
Yay! It’s so much fun! There are so many styles! Oh no, I’m totally overwhelmed.
I have an easy rule of thumb on just how revealing your lingerie should be based on your personal comfort level at the beach. Choose your style and then incorporate anything from the list down.
Gone streaking?
Get naked. You can cover the naughty bits, but you will LOVE photos of you in the buff. Don’t be shy. We’ve seen lots of naked in our studio and it’s no big deal. Try a body chain!
Teeniest bikini?
You’ll feel right at home in a bra and thong/panty set with lots of eye-catching details.
Sporty?
Try a look inspired by Calvin Klein with a bralette and briefs. Bring a great pair of jeans for layering.
Modest Bikini
Bras and underwear with a bit more coverage. This means high-waisted panties (they’re sexier than you think) and a bra with some underwire support.
One-piece?
A strappy or skimpy bodysuit will be perfect. Get one with pretty details.
Miracle Suit?
Shapewear with sexy trim and lace panels smooth over curves for a beautiful hourglass effect.
Cover up all day?
You are going to want layers to feel comfortable. A lacy robe (not satin), cozy cardigan, or slouchy sheer tank will have you feeling sexy in a more modest way.
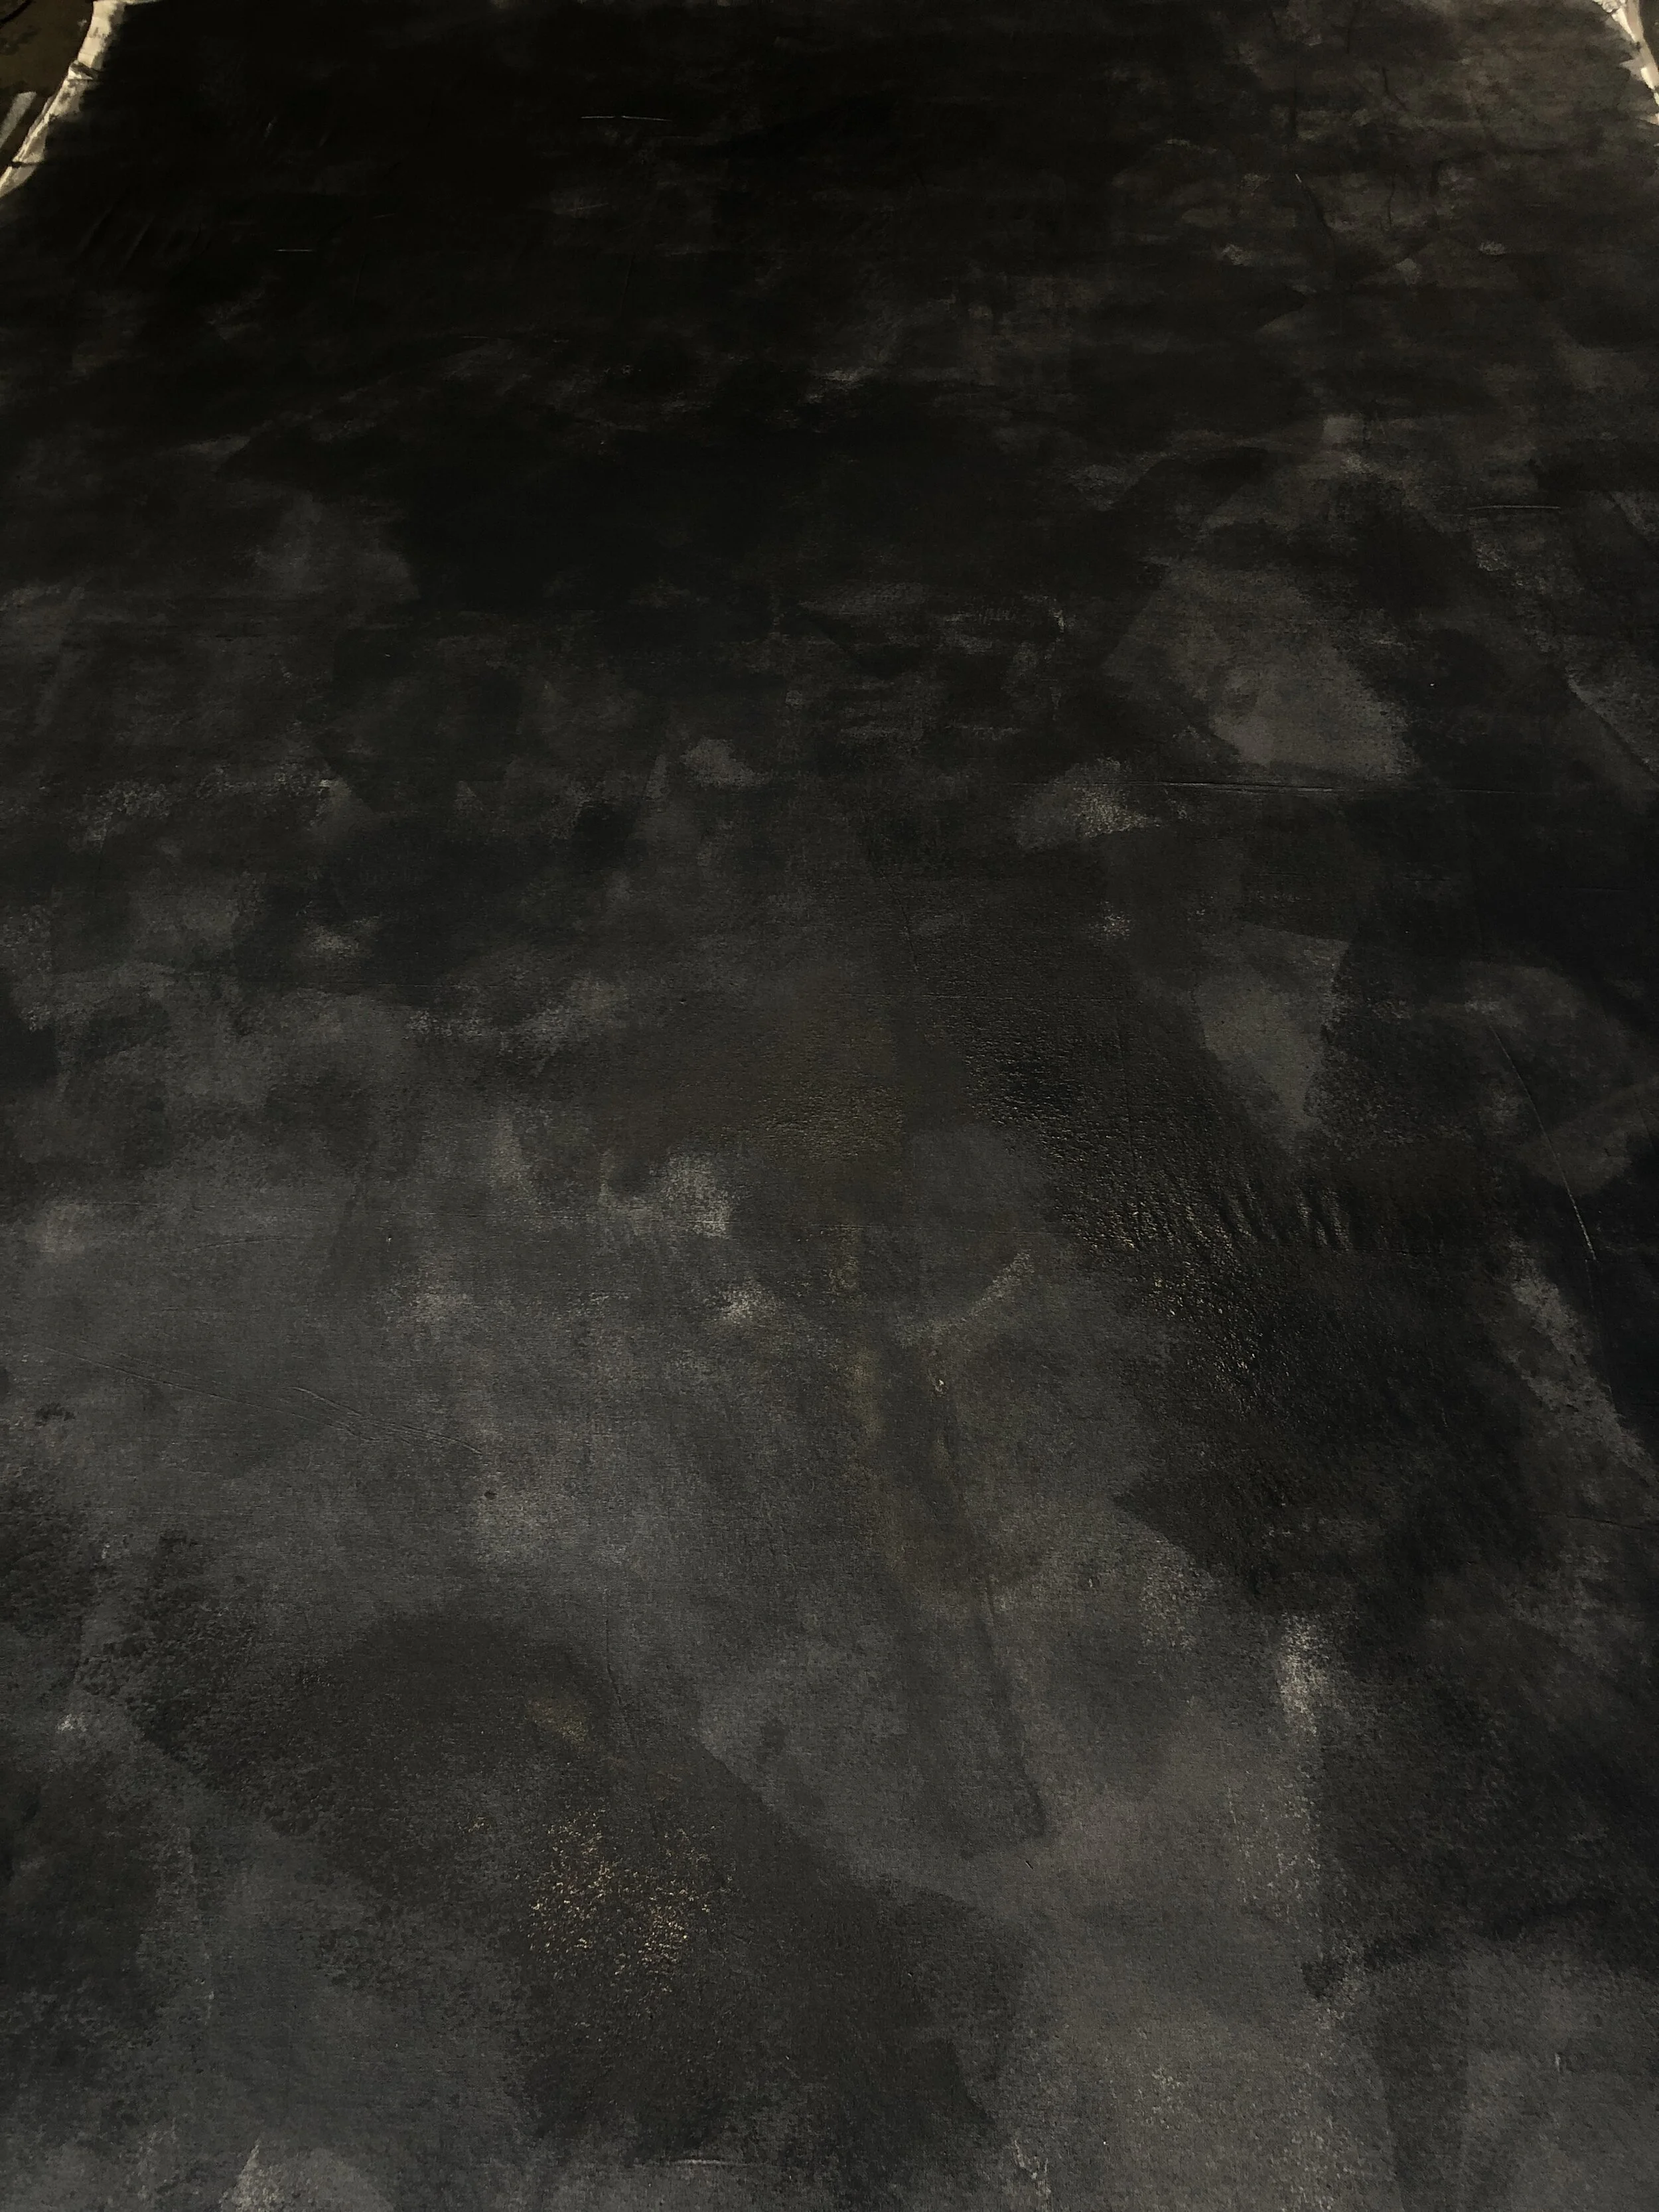
How to paint a photography backdrop for boudoir
Usually my posts are meant for clients, but this time I wanted to share some knowledge with my clients.
I’ve wanted a painted back drop for ages, but I didn’t want to commit $$$$ to one if I wasn’t sure I’d use it and love it. So as I do with most things… I went DIY for this project. I do a lot of painting projects, so I had a lot of supplies on hand.
Supply list:
1) Large canvas seamless cloth like this one from Amazon.
2) Plastic drop cloth like this one from Sherwin Williams
3) Wide painters tape like Frog Tape (my favorite brand)
4) Zinsser water-based primer ( I used about a quart and a half of my gallon)
5) Miscellaneous paint in grey tones that I had lying around. I used about 3 quarts when all was said and done. I chose a medium grey and a very dark charcoal grey. The ones linked are the quarts from Sherwin Williams in satin. When it’s painted on canvas, it doesn’t have any sheen to it.
5) A paint roller multipack + roller frame + tray multipack
6) an extension pole is optional, but it will make the job easier
7) water and a mixing container with measurement markers
Time to complete project: 1 day in a dry climate
Instructions:
1) Find a large flat hard surface outdoors or in a garage and tape the drop cloth to the ground. Remember to leave room to walk around your canvas on all sides.
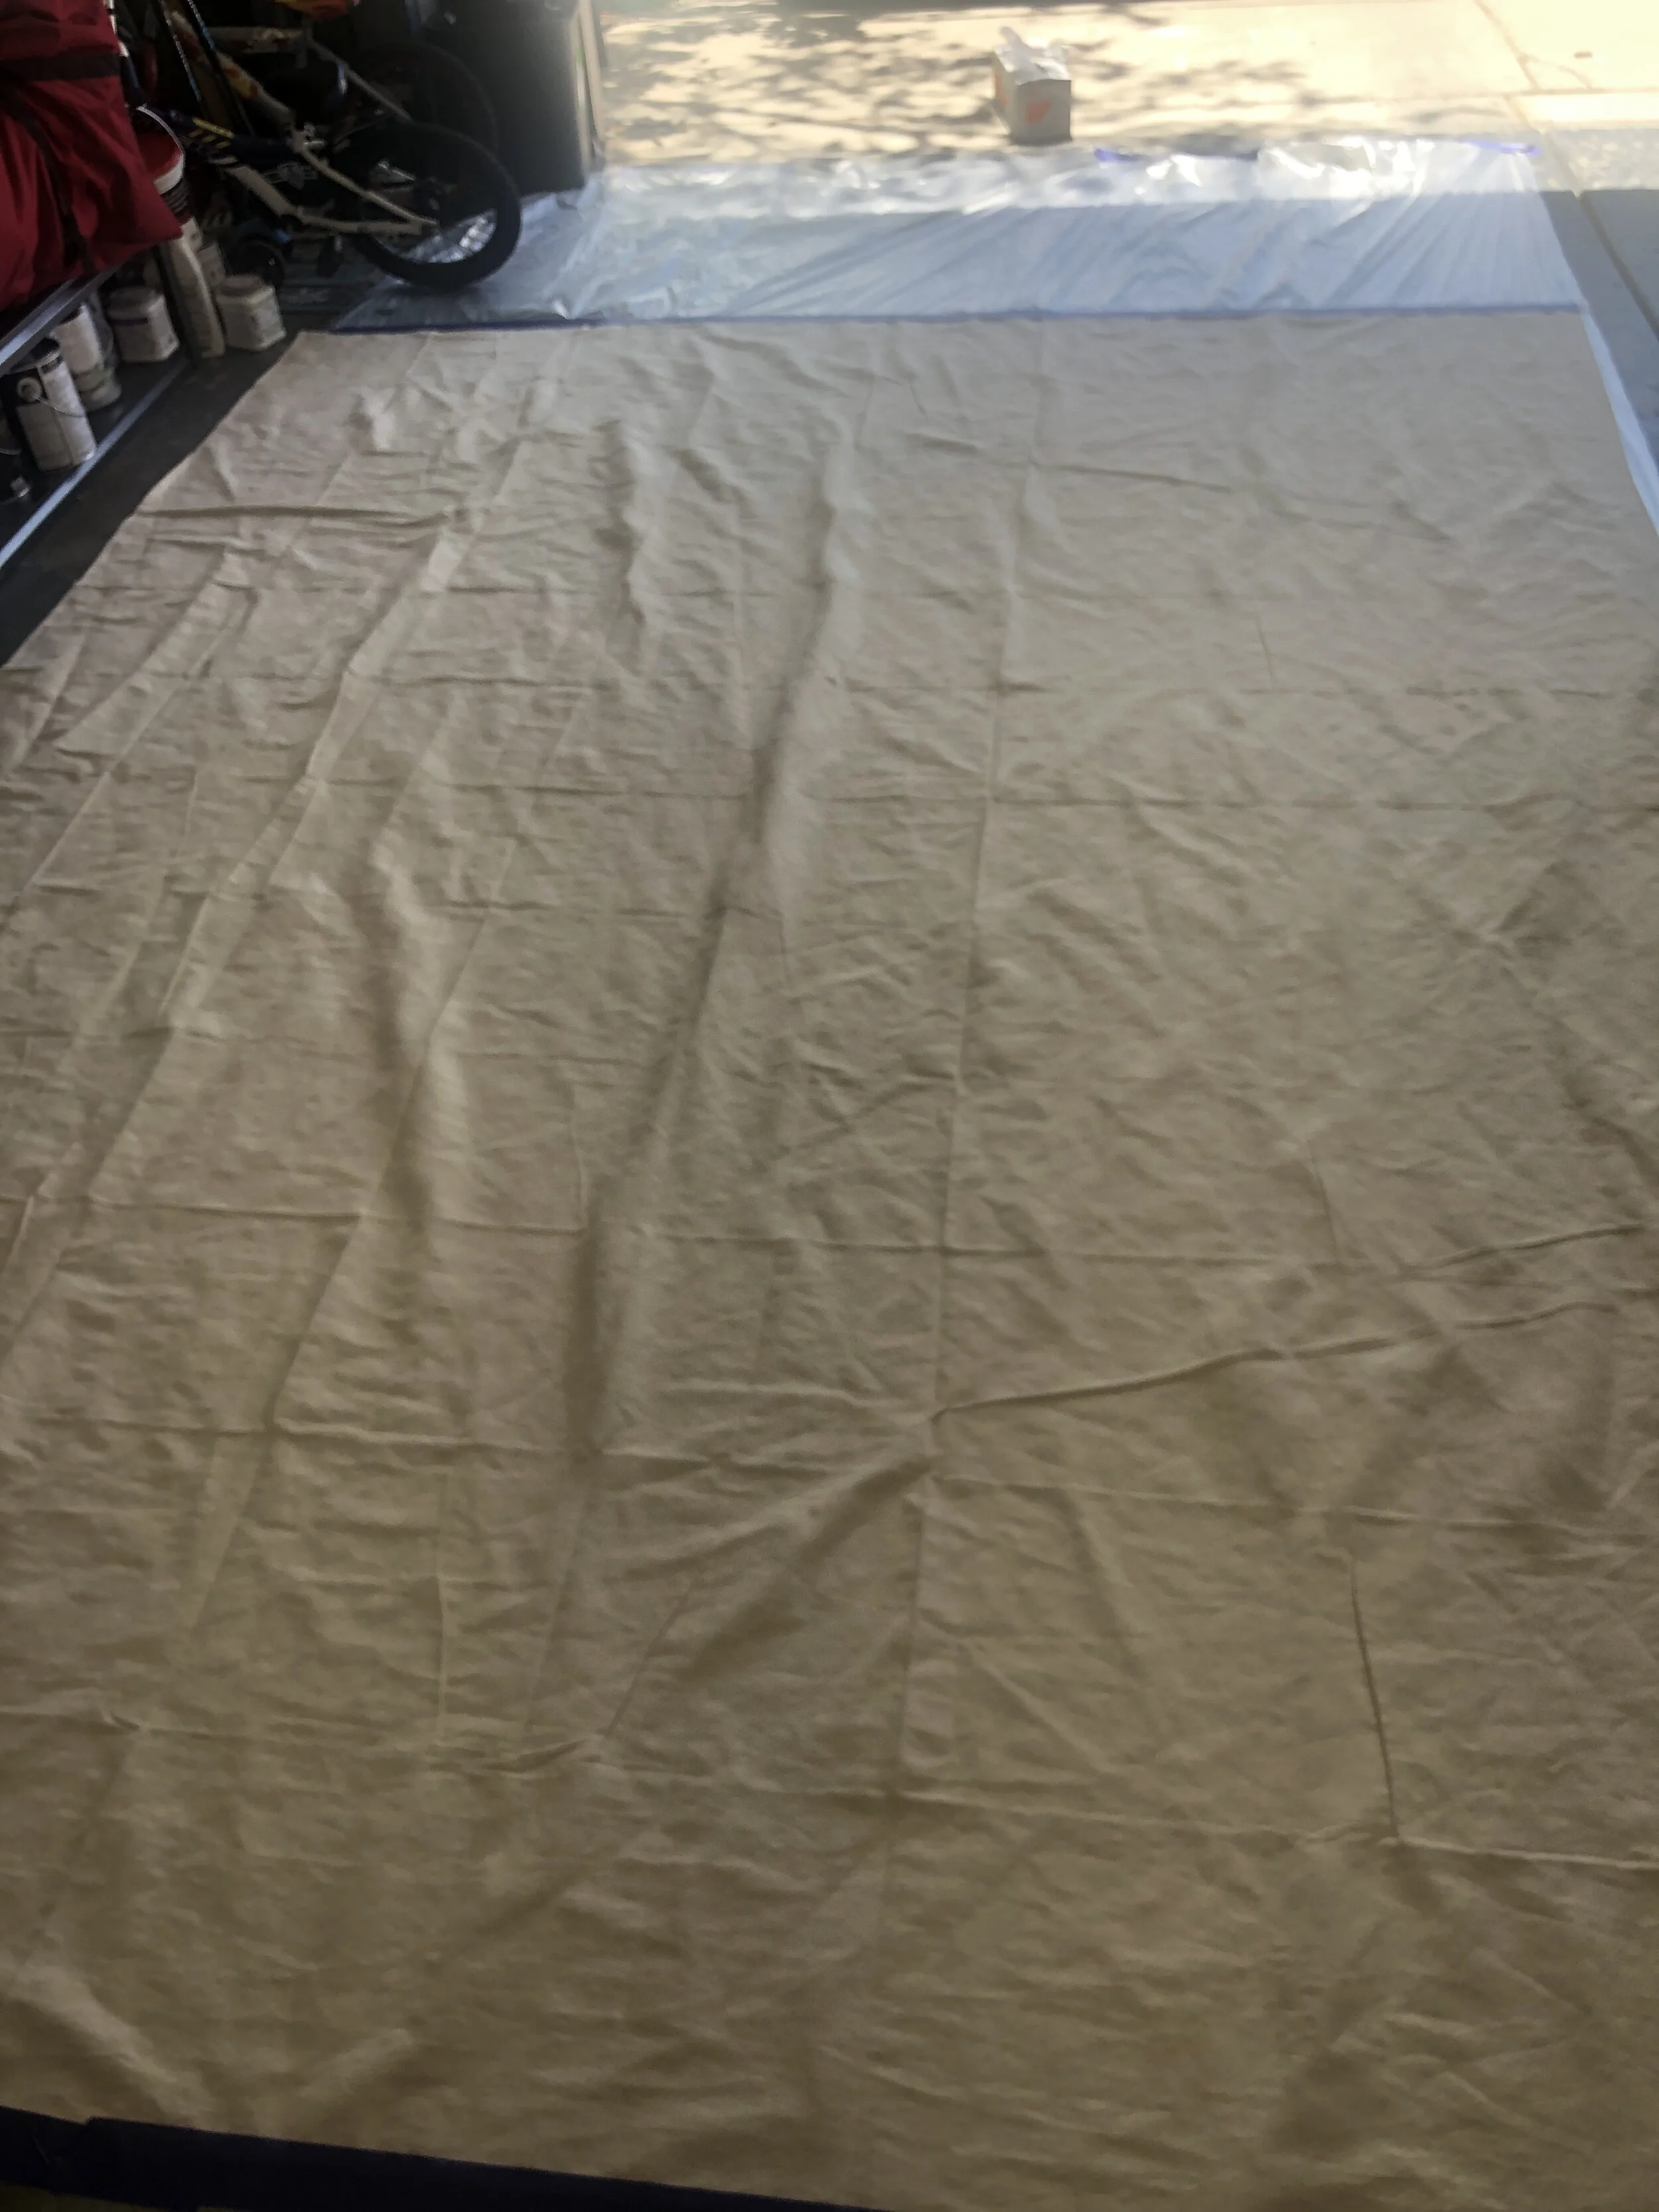
2) Unfold the canvas and tape the edges to the plastic sheet
3) Mix the primer with water at about a 2:1 ratio. I chose to do 1/2 quart primer to 1/4 quart water.
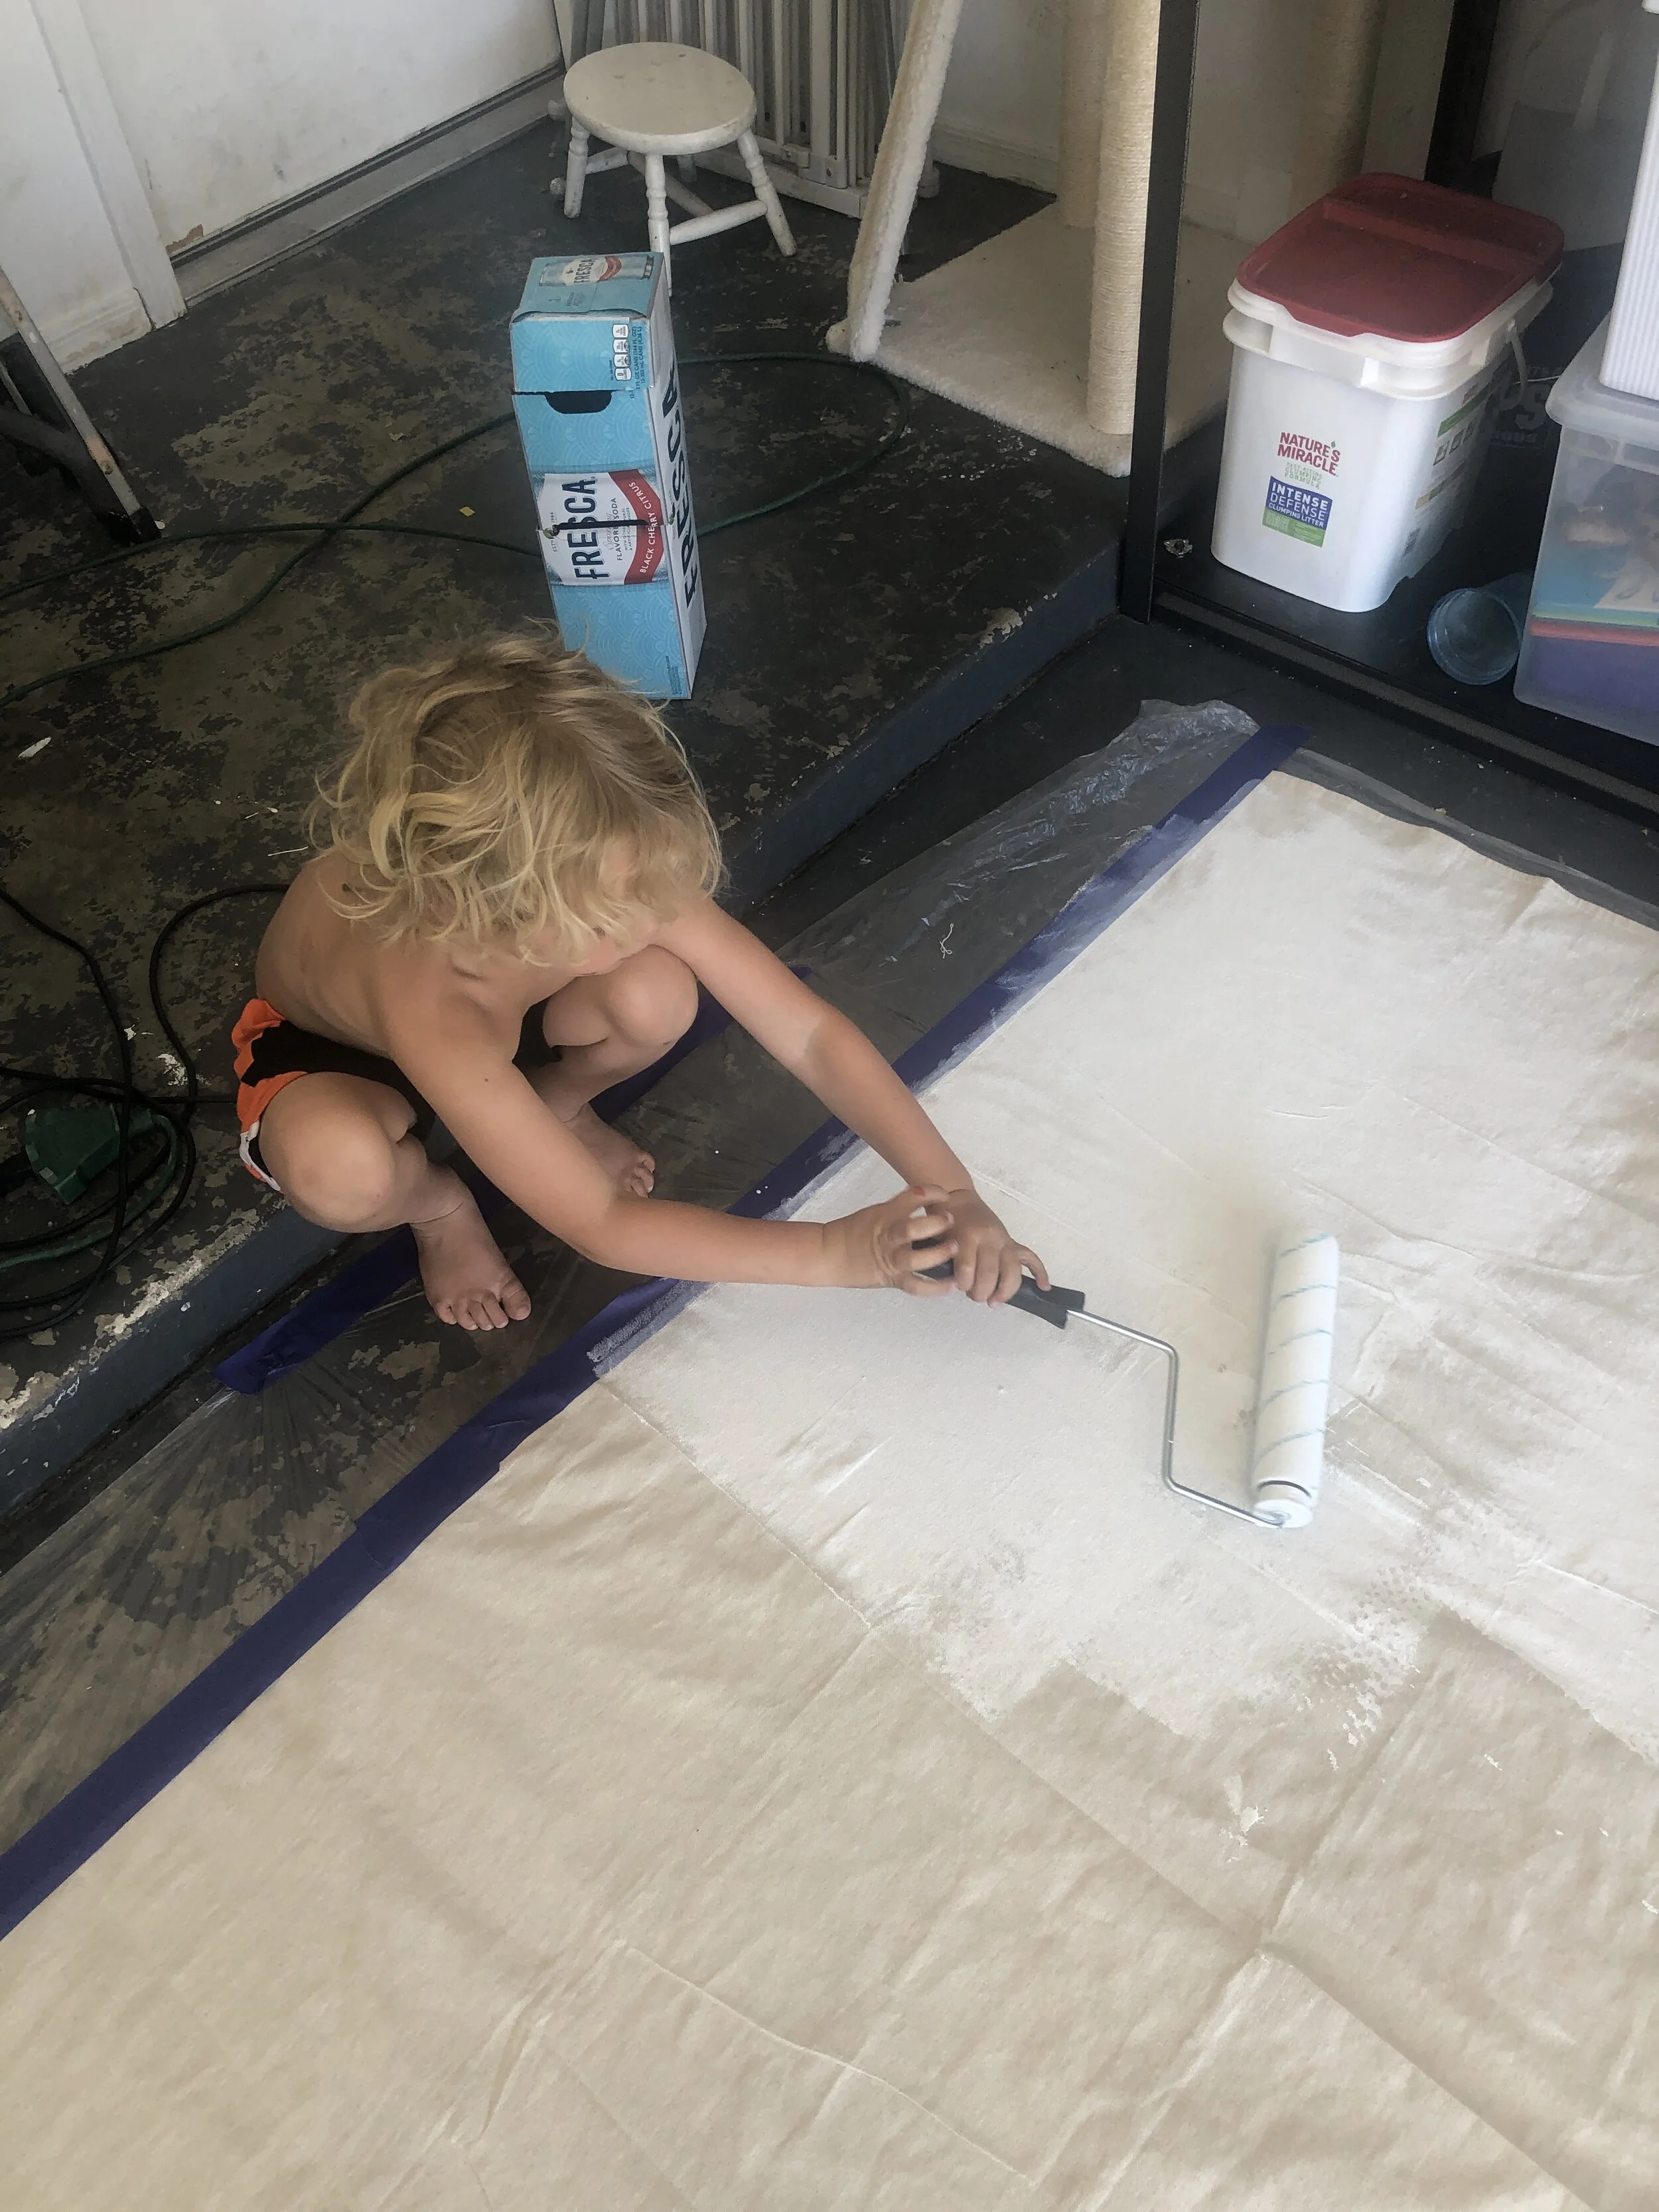
4) Use the roller to apply it everywhere. It will get soaked in pretty quickly.
5) Wait about an hour and apply another coat of primer with the same ratio
6) Mix your base color paint with the same ratio as the primer. Use a new roller cover and tray unless you feel like doing massive amounts of cleaning.
7) Roll paint mixture out in all directions. To the left, to the right, then front, then back. X patterns and + patterns. The thin paint will create a textured look that is more opaque in some places than others. Which is what makes it look hand-painted. Let dry completely.
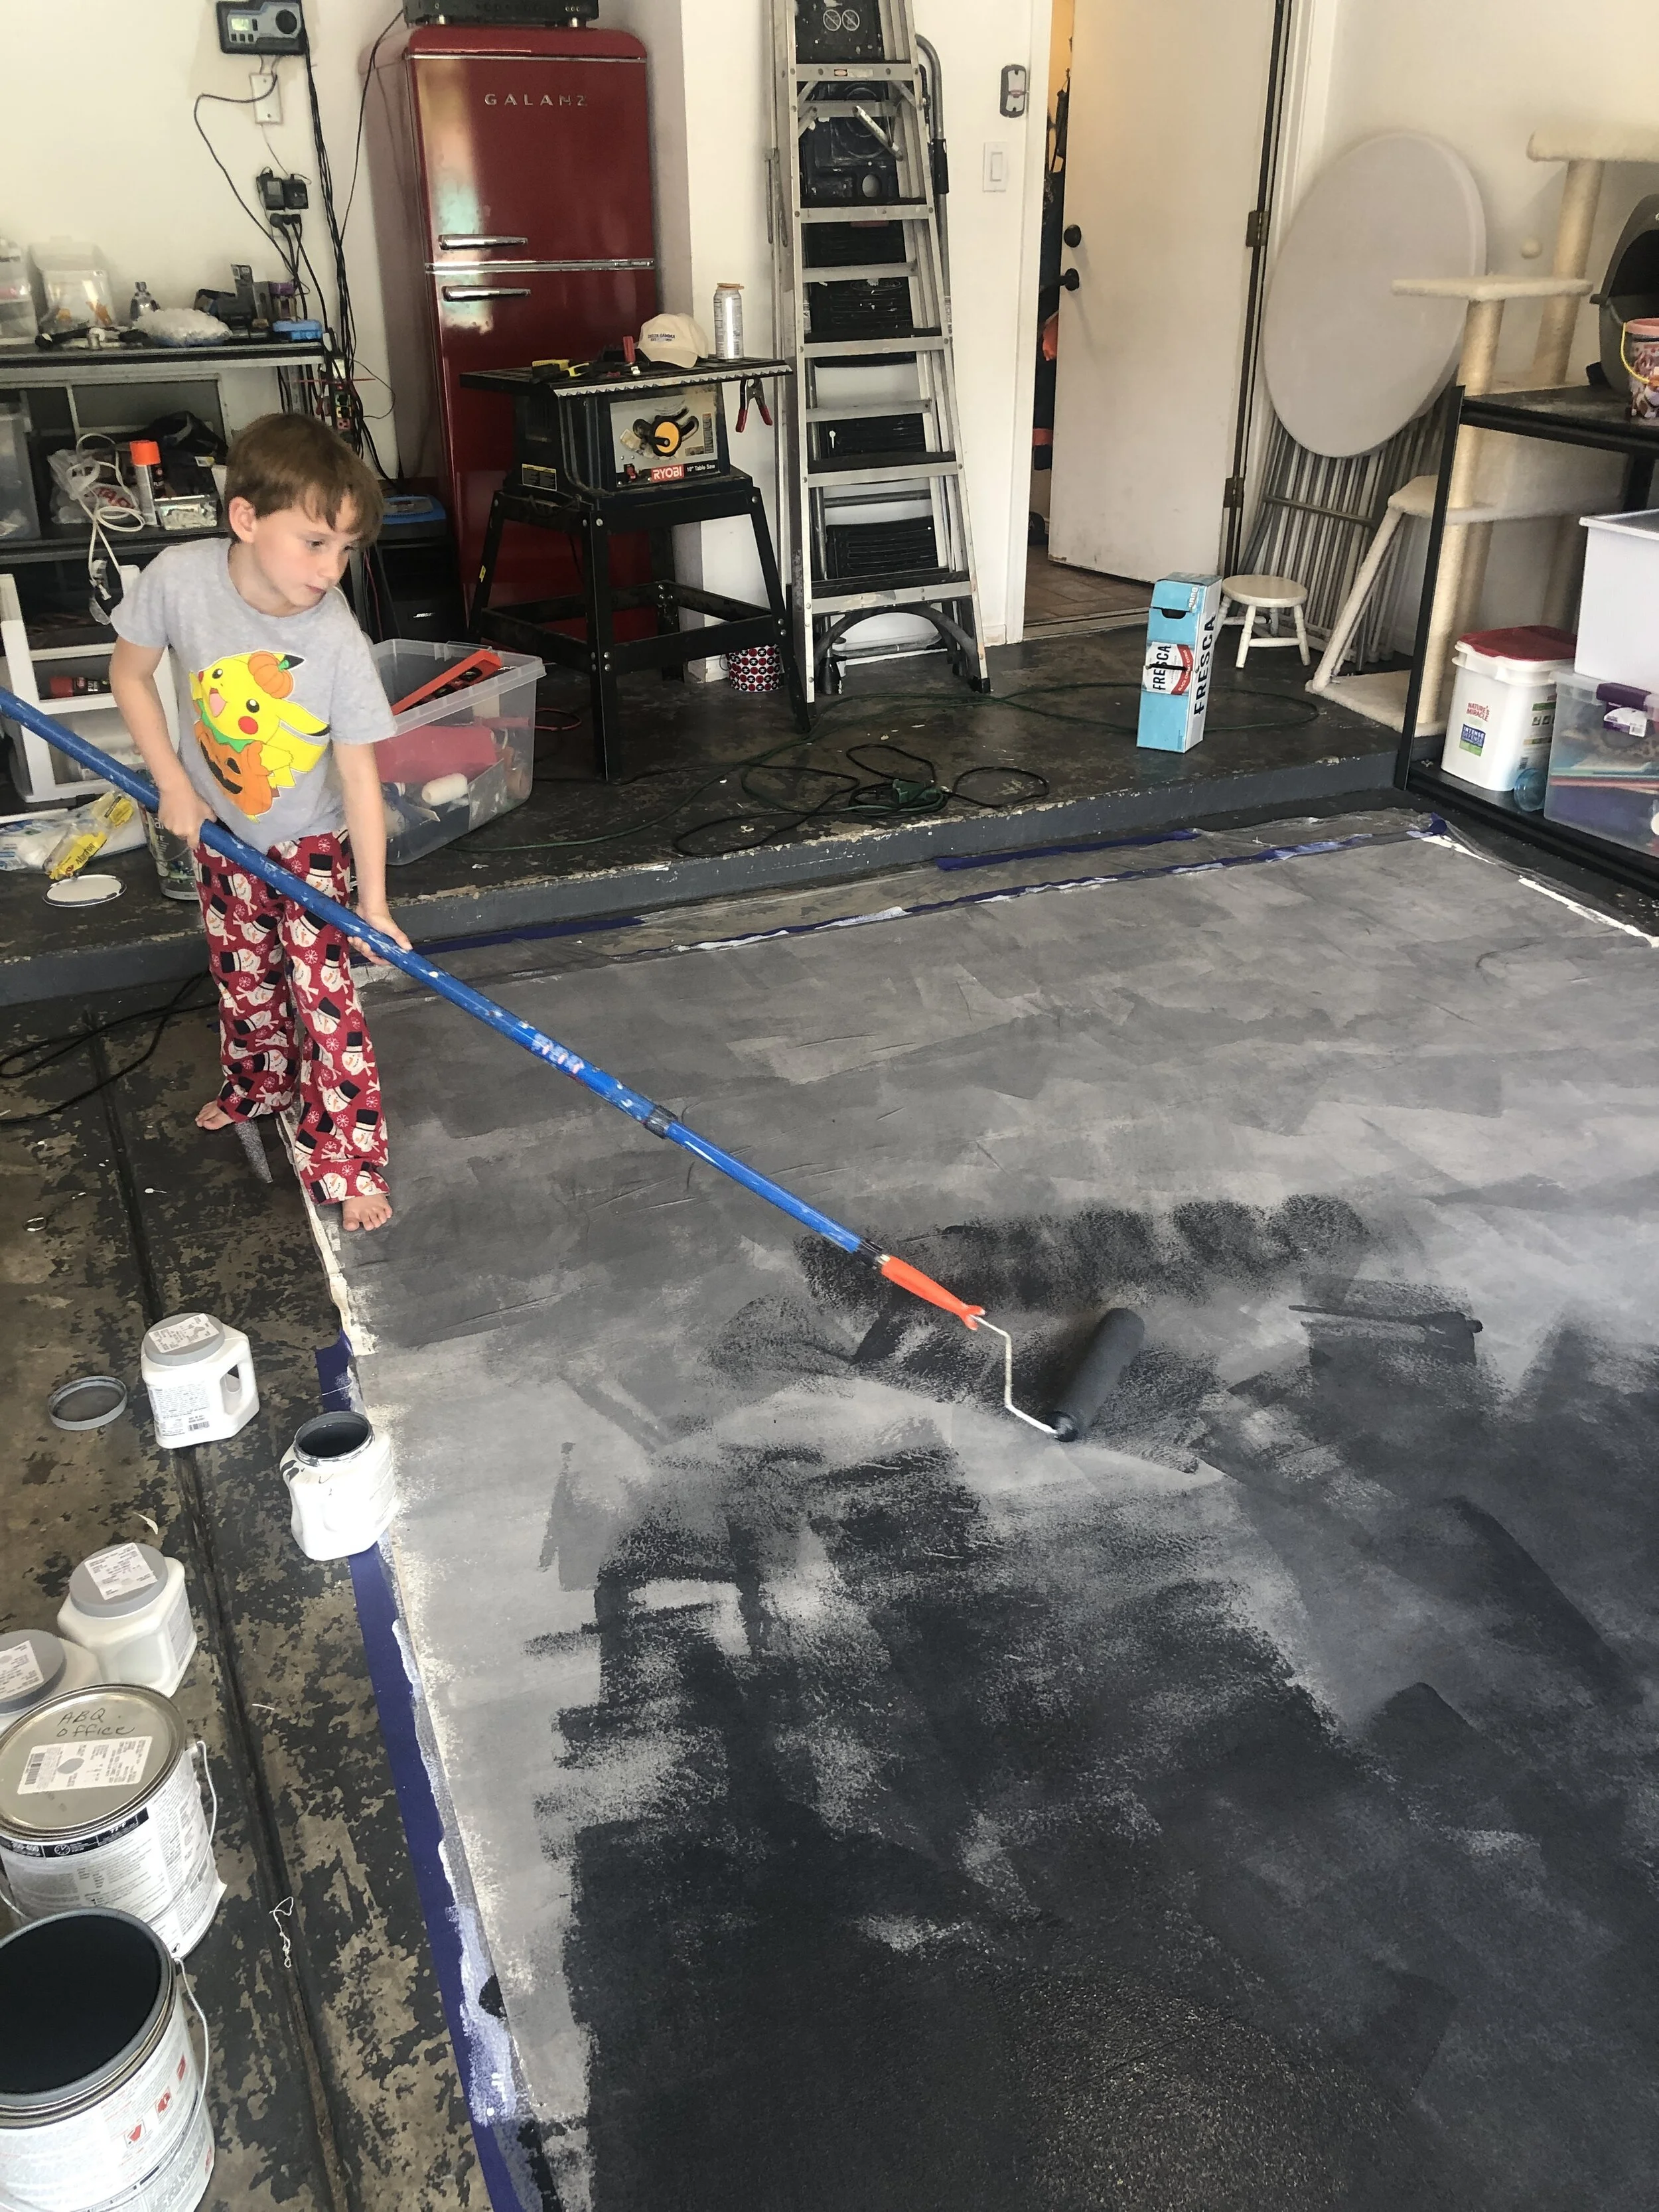
8) Apply a second color of paint. For this color, I mixed equal parts water and paint. I tend to shoot slightly over-exposed, so I made the second coat a bit darker to compensate for that. I wanted a charcoal grey with bits of light grey showing in places. Use the same X and + patterns. If you are picking two very different colors, use a new roller cover and paint pan. Mine were in the same tone, so I just re-used mine.
9) Tada! A hand-painted backdrop for a fraction of the cost of paying a professional.
So far, I’ve only had this for about a week, but I’m storing it rolled up and haven’t had any issues with cracking. Diluting the paint and doing it in layers, it retained some flexibility.
Since we are on quarantine, Here’s a not-so-great snap my mom took with my camera. Yes, the focus is off.
Image 1: canvas taped down
Image 2: Eli helping me roll out the first coat of primer.
Image 3 + 4: Leo putting on the darker grey paint over the first coat of medium grey
Such an easy project, a 2nd grader and pre-schooler can do it! Well, as long as you do the mixing and constantly remind them to stay ON the canvas with their paint and off of it with their feet.
Let me know if you have any questions!


